

you own a website on WordPress, you can increase the security of your site through the Cloudflare service.
This is what we will talk about in this article, explaining how this service can help your site, and how you can set up Cloudflare for your WordPress site in the right way.
What is Cloudflare?
Cloudflare is a Content Delivery Network and Domain Name System (DNS), and it provides you with a service to improve the performance and speed of websites, while providing protection for them. It is a company backed by some of the biggest names in the field such as Google and Microsoft.
In simple terms, Cloudflare is an easy method; To speed up and enhance security on your site.
Most customers can take advantage of the free plan, which provides unlimited CDN bandwidth.
What is the importance of Cloudflare?
If you want to know how your website can benefit from the Cloud Flare service?
Here is a quick list of some of the advantages of using Cloudflare for your WordPress website:
- Cloudflare’s Content Delivery Network helps speed up your site by serving static content, from a huge network of global servers, meaning it is a free CDN service and is the most popular.
- Cloud Flare helps you obtain an SSL certificate, which gives you the opportunity to use HTTPS, in order to protect the information that your site visitors enter into your site.
- It is one of the fastest DNS providers, which can speed up your site’s time to first byte (TTFB).
- Allows you to set up custom security rules; To secure certain parts of your site, such as the WordPress dashboard.
- Cloudflare gives you faster page loading times; Because it caches your content across its network, you get all the speed benefits of a CDN.
- Cloudflare filters bot traffic and other negative traffic sources.

Cloudflare installation
The basic process of installing the Cloudflare service on your website is very easy, and does not require any software or hardware from you.
Here we will review with you the steps for installing Cloud Flare on your site, which are as follows:
Create a Cloudflare account
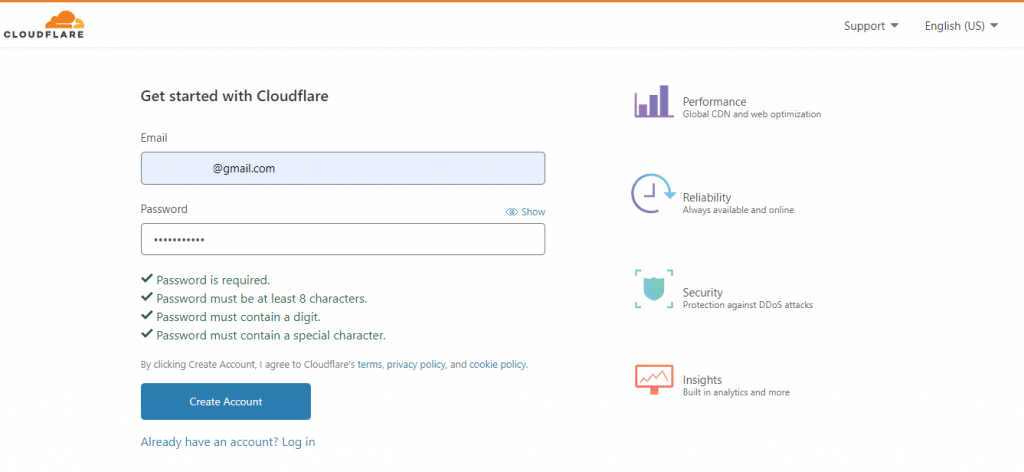
To get started, go to the official Cloudflare website , and then create a new account, by clicking Sign up.

Then the registration screen will appear directly to you, asking you to fill in your registration information, which includes your email, and to set a strong password.
Then click on: create account
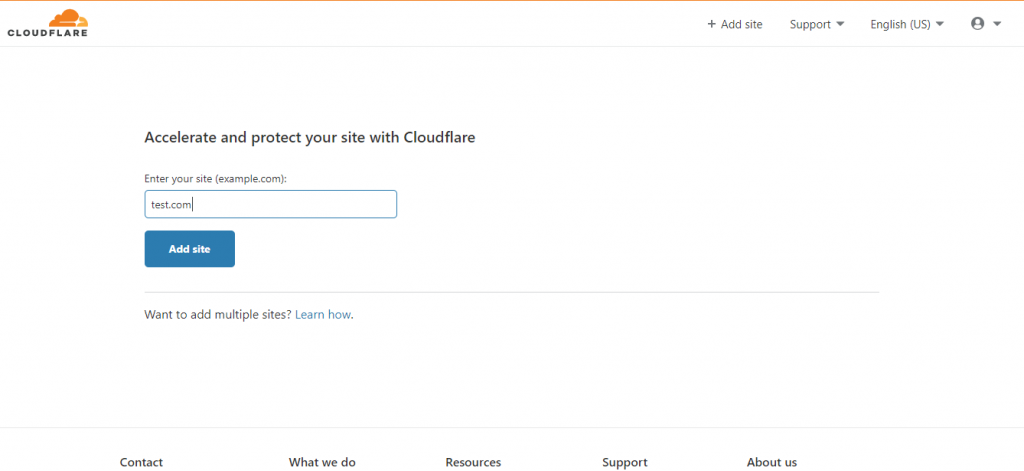
After that, you will go directly to a screen asking you to add the link to your site, which you want to add to Cloud Flare. In the designated box, add the site without adding http/ in front, and then you will click on Add site.
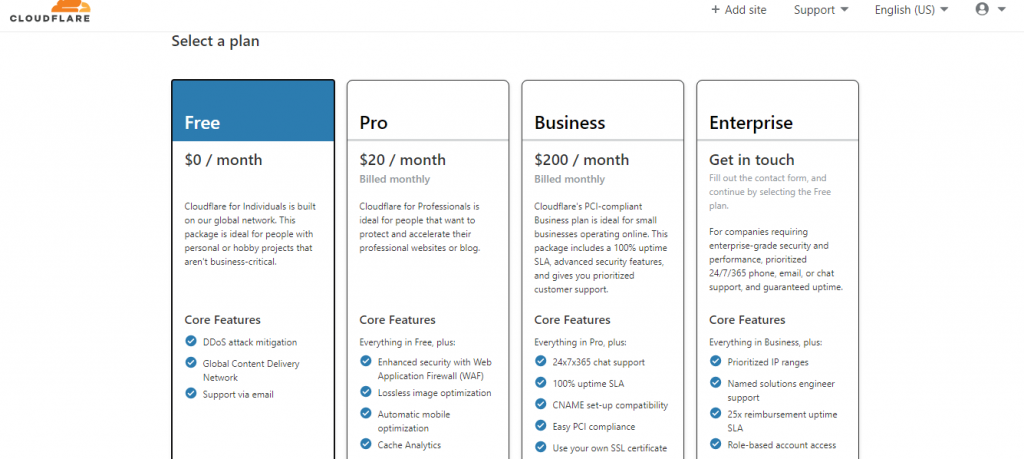
You have now chosen the appropriate subscription plan for you. You can choose the free plan, which provides you with most of the features, and then choose Continue.
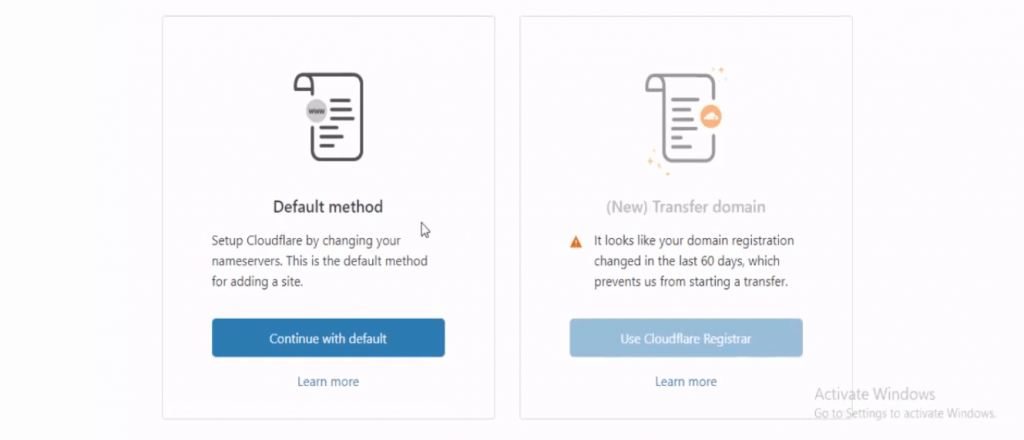
Now we come to choosing one of your two methods; They are:
First method: Set up Cloudflare using the one-click setup option in your site’s control panel; Hosting companies provide a Cloudflare integration application embedded in your site’s control panel (cPanel). To enable the service with just a few clicks.
The second method: Set up Cloudflare on your WordPress site manually.
This method is if the hosting company you rely on does not provide the option to configure Cloudflare with one click. It may take a few extra minutes.
We will now connect Cloudflare through the first one-click installation method through the hosting company
Connect Cloudflare to your hosting provider
Here we will rely on GoDaddy as an example. After logging in to the hosting, we will check the DNS records
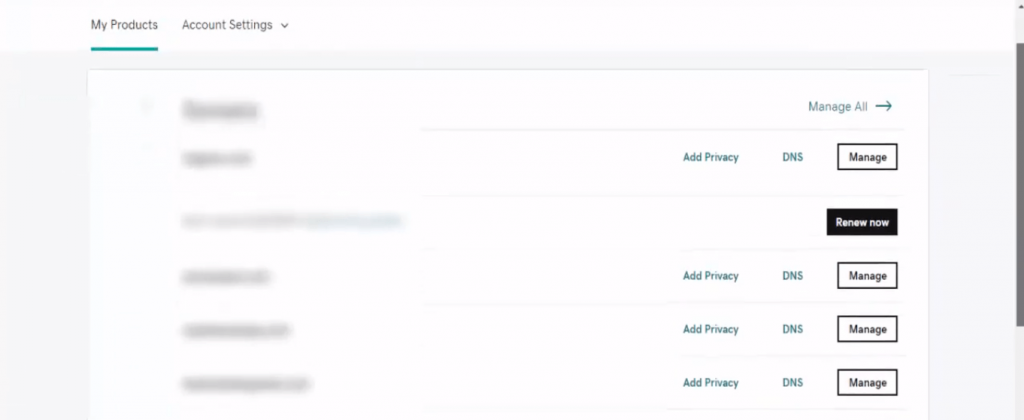
Cloudflare will give you a new set of server names, replacing the current server names; All you have to do is replace the names on your hosting site with the server names that Cloudflare gives you.
Here’s where the server names you need to replace are located:
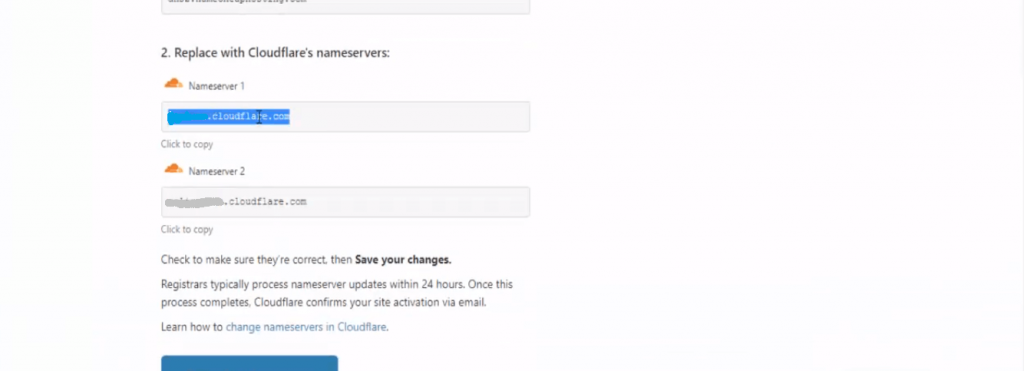
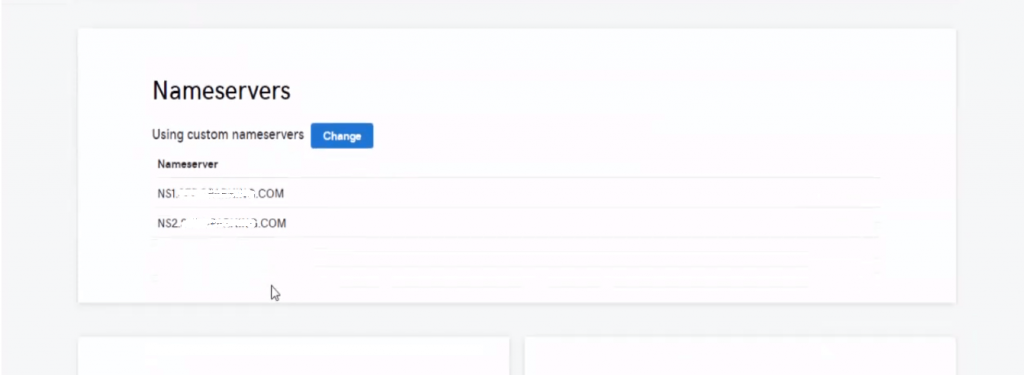
You will replace the name of the first server here, which is on your hosting site, with the name of the first server that Cloudflare gives you; The same applies to the second server.
Then click on the Save command.
All you have to do now is return to the Cloudflare setup page, click on Done and check the server names (Done, check nameservers), and you have completed the setup.
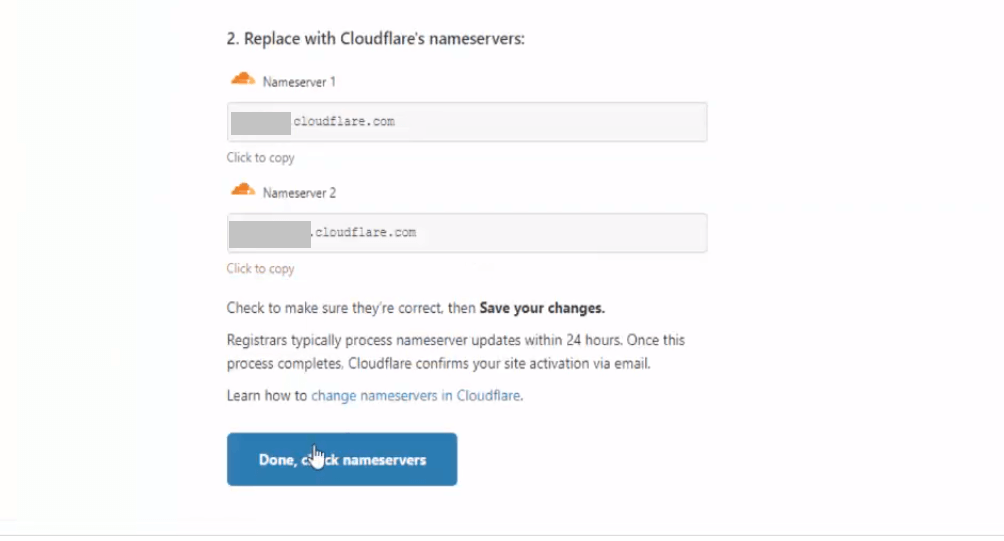
After all steps are completed, your domain status will change from Pending to Active, to Great news! Cloudflare is now protecting your site.
Configure Cloudflare for your WordPress website using a custom plugin
CloudFlare offers a custom WordPress plugin that lets you quickly set up CloudFlare on your WordPress site, add Web Application Firewall (WAF) rule sets, automatically clear your cache, and more.
We will now install the Cloudflare plugin on WordPress, by going to (Add-ons >> Add New >> then searching for (Cloudfare)
Then click on Install Now, then Activate

⦁ Once done, you will need to visit Cloudflare Settings from the admin panel to configure Cloudflare settings.
On the settings page, you will see a button to create your free account and a login option for existing accounts. All you have to do is click on the login option.
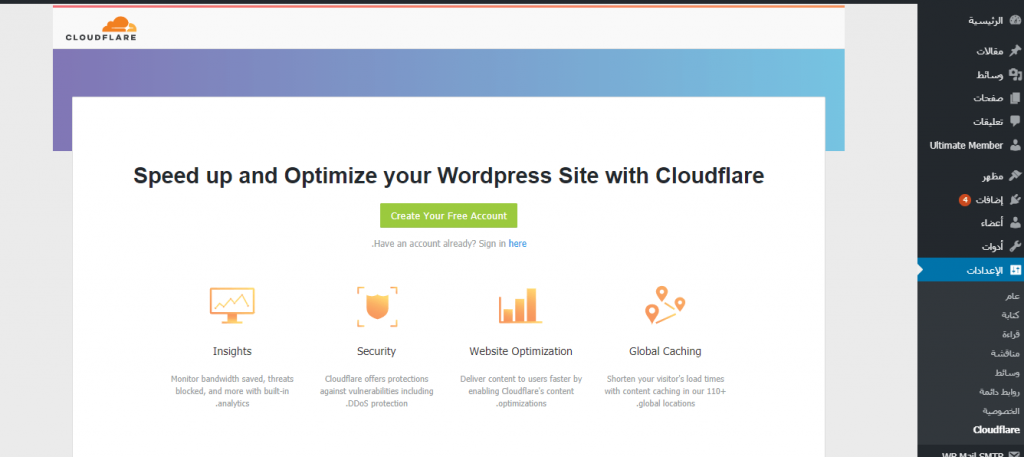
Thus, you can log in to your Cloudflare account and manage it easily on your site.
Cloudflare alternatives
You can take a look at this list of the best Cloudflare alternatives, if you are looking for other alternative services that you can rely on to perform the same functions:
Smart
Akamai is one of the largest and most popular CDN and cloud service providers in the world. If improving content delivery speed is high on your list of priorities, this is the service you will want to seriously consider.
This is because the company’s proprietary PLXedge technology gives it 2.3 terabits per second of dedicated DDoS bandwidth.
Akamai also uses a web application firewall to provide application layer protection.

Amazon CloudFront Amazon CloudFront
is part of the massive AWS (Amazon Web Services) platform.
Although it can be much more expensive than many other services, the best features of the service are:
⦁ The service can deliver any type of web content, whether it is dynamic, static, or streaming.
⦁ Cloudfront also has a great GUI on its management console, which allows users to add custom SSL.
⦁ Dynamic scalability that allows it to automatically allocate more hardware resources; To take care of spikes in web traffic without any user intervention, making it one of the most effective protections against DDoS.

Fastly
Established in 2011, it has already become a name to reckon with in the industry, offering a range of services including:
⦁ Instant configuration updates.
⦁ Ability to cache dynamic content.
⦁ Real-time log streaming and analytics.
⦁ In addition to protection from traffic surges.
⦁ Also provides streaming media delivery, custom CDN, web application firewall, image optimizer, and load balancer.
The service also comes with a “real-time CDN” feature that allows changes to happen instantly.
In the end, we hope that you have benefited from this article in having sufficient information about using Cloud Flare and how useful it is for your site, and how to install it correctly.