Cloud Hosting, which relies on the principle of dividing one physical server into several servers or virtual machines, is today’s preferred choice for hosting websites or developing applications that can be accessed remotely as a better alternative than traditional shared hosting due to the great flexibility and scalability it provides.
In this guide, we provide you with a detailed explanation of how to use the cloud hosting platform of Digitalocean , which is a popular cloud hosting company that provides developers with virtual servers, cloud storage, and other cloud services that help them run and deploy their applications.
Digital Ocean is considered the third largest hosting company in the world, and its main headquarters is in the United States of America, but it deals with data centers all over the world, where servers are distributed all over the world, which gives you stability, speed, and reliability for your cloud servers, and gives you freedom. Choose the data center area closest to your geographic location to get the best performance for your site.
Cloud hosting prices for websites start from $5 per month, and you can view all the different prices, options and features of hosting through the following link https://www.digitalocean.com/pricing
The most important features offered by Digital Ocean:
- Scalable storage feature, ensuring your projects always have the space they need to expand without limitations.
- Providing a simple and easy-to-use graphical interface to complete work efficiently and quickly.
- Free Team Accounts feature, which provides the ability to work seamlessly with your entire team and share access to project structure and work together.
- Droplets feature, which are virtual machines, devices, or servers (basically based on virtual machines in the Linux/Ubuntu system). Each droplet application you create is a new virtual server that you can use as a standalone server, or as part of a larger cloud-based infrastructure.
1-Go to the home page of the DigitalOcean website.
2-Click the Sign Up button in the upper right corner of the page.

The registration page will appear, allowing you to choose from several registration methods, as shown in the following image. Choose the method you want. In this guide, we will choose the first option, which is to register using email.
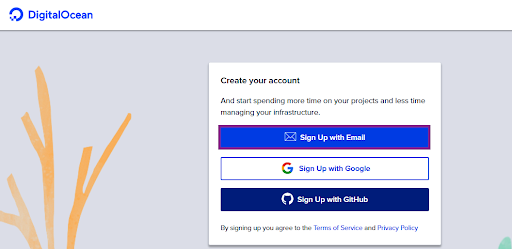
3-Then the following window will appear asking you to enter (your name, email, and password). Enter your data, then click the Sign Up button to continue.

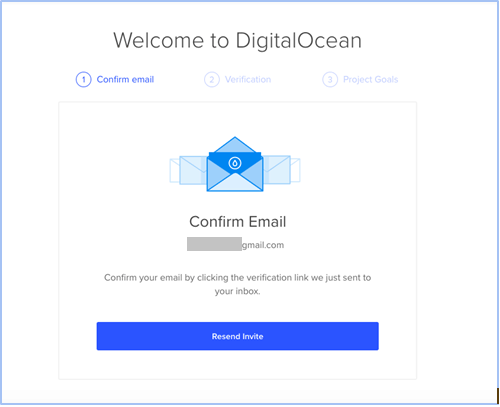
4- A window will be displayed informing you that a message has been sent to the email you entered. This message includes a link to verify the validity of the email you entered as shown in the following image.
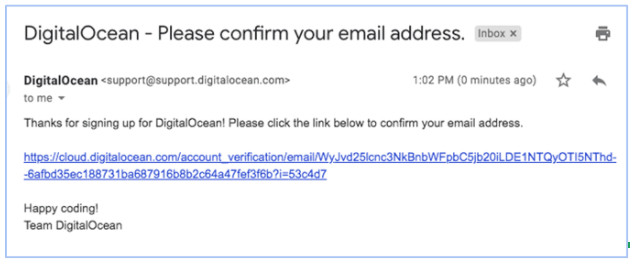
5-Go to your email and check the message you received from technical support. The address is usually support@support.digitalocean.com. Then click on the verification link included in the message.
note:
If you don’t find the message in your inbox, check your spam folder. In some cases, the message may be mistaken for spam.
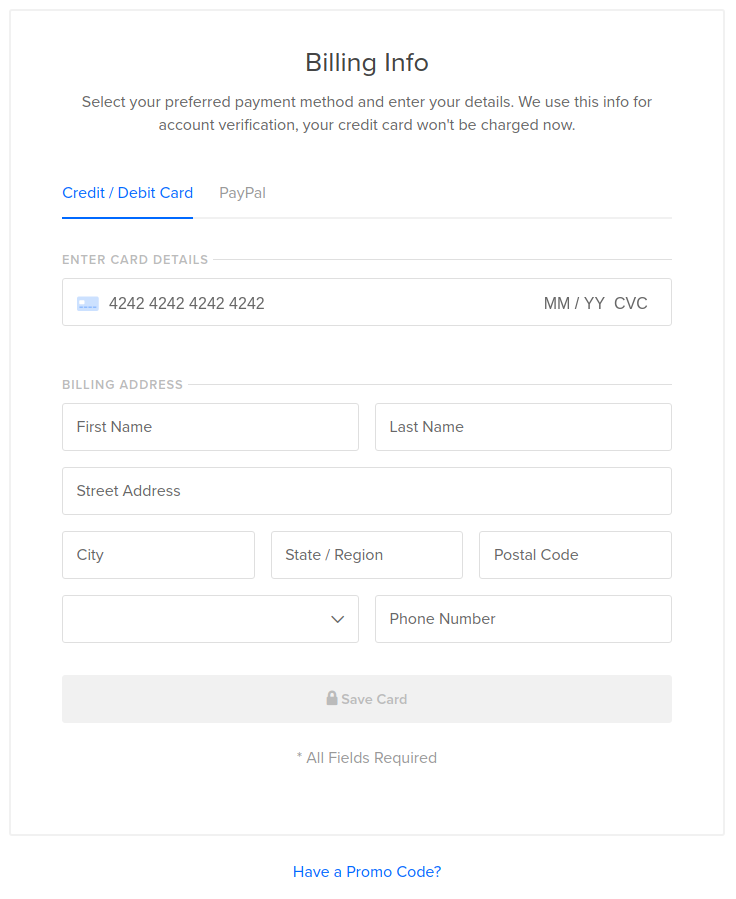
6- When you click on the link above, the billing information window will appear asking you to enter your payment details (you can pay by credit card or by PayPal account).
7- After adding your payment method, a window will appear displaying a welcome message and enabling you to create your first project on Digitalocean.
What is a project in Digitalocean?
You can think of a project in Digital Ocean as a folder that helps you organize your work. Projects allow you to group your resources into groups that fit the way you work. You can group resources (such as drops) or other resources within the projects you create.
For example, you can create a project called WordPresspro to collect all the WordPress projects that you will host on the site. And another project called Woocommercepro to collect all the WooCommerce projects that you host, for example, and so on. The project creation window is as follows:
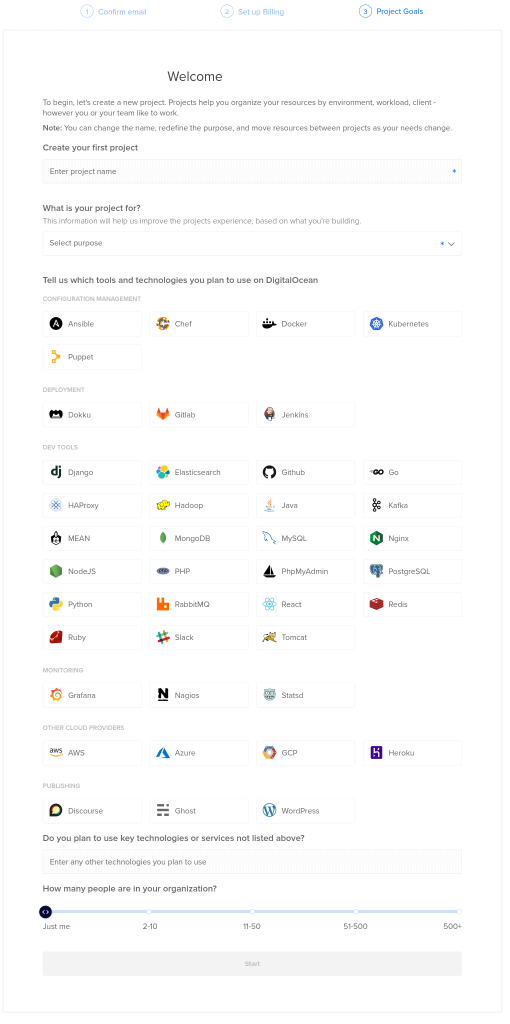
Through the previous window, you can prepare your first project on Digitalocean by specifying the following data:
- Name of your project : You can call it (Testproject), (WordPress), or any other name you choose.
- Objective of the project : Choose from the drop-down list the option that suits you according to your project (here we will choose Just trying out DigitalOcean)
- Technologies you will use in your project: You can leave them unchecked.
- Number of people in your organization : Here I will choose Just me and you can specify the number according to what you want.
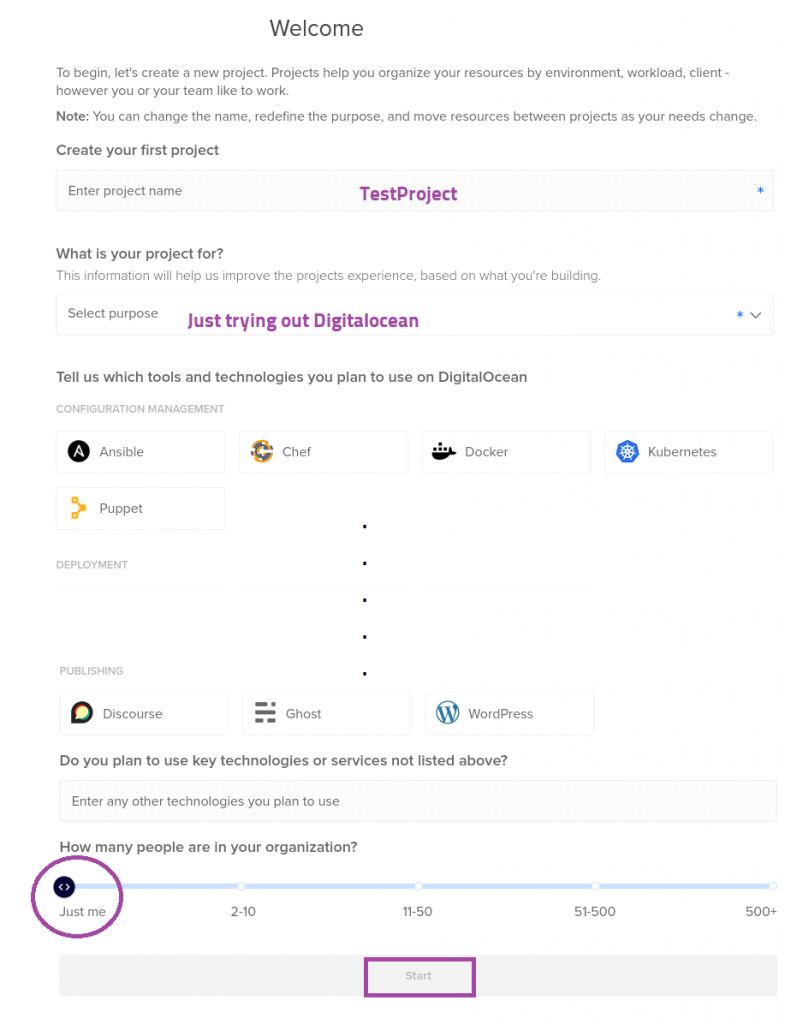
After completing, click the Save button to save the project and go to the DigitalOcean control panel, as shown in the following image.

Congratulations on reaching this step. You have finished the steps of setting up your basic account in Digital Ocean and created your first project. Of course, the project is currently empty and we need to create a droplet or virtual server inside it to install WordPress on it.
note:
A single DigitoCean account can have multiple projects and each project can have multiple virtual servers and/or droplets.
The next step that you must take is to create a droplet within the project you created, and install WordPress on it in order to create your own website on the virtual server that this droplet represents. This step is performed from within the DigitalOcean control panel, as we will explain in detail in our next article.


Leave a Reply