

Facebook pixel is Facebook’s most popular analytical tool (Meta) for monitoring and analyzing ads. It helps you monitor conversions from ads, improve advertising campaigns, build target audiences for future ads, and retarget people who visited your site and interacted with it based on what they did. Activities within the site.
In our article today, we are interested in clarifying the concept of the Facebook Pixel tool, and how you can benefit from it, in addition to providing a complete explanation of how to add Facebook Pixel to your WordPress site in simple steps through a ready-made plugin, or manually if you have some experience in dealing with WordPress.
After adding the Facebook Pixel correctly, we will help you confirm whether it works on your site or not. Therefore, follow this article with us, which provides a complete explanation of the Facebook Pixel, how to add it to your site, and learn how effective it is, so that you can benefit from it in your upcoming advertising campaigns on the Facebook or Instagram platforms.
Facebook pixel concept
Facebook Pixel is an analytical tool that collects and analyzes data from your website visitors. This tool measures and improves your Facebook ads based on the data it collects. It analyzes the activity of visitors to your site (such as the purchases they made, the pages they viewed, the links they clicked, or the mailing lists they subscribed to) or other activity.
This tool is distinguished by being a free tool provided by Meta, and you can use it once you create an advertising account on the Facebook platform. Then you can add it to your website and enjoy its features.
To illustrate how Facebook Basic works, you can assume that you own a WooCommerce store, where you aim to sell household items. As soon as a visitor enters your site and views one of your product pages, the Facebook Pixel will immediately work, analyze and save that visitor’s data.
After that, you can create an ad on Facebook or Instagram and target only visitors who have accessed this product’s page on your site, and explain to them that it is time to buy the product if they have not bought it yet. Thus, you can improve targeting and increase the percentage of sales in your online store.
Manually link Facebook Pixel to WordPress
As we mentioned previously, once you add the Facebook pixel to your site, it will start working and notify you when a visitor or customer takes any action on the site, and in this way you will be able to reach that customer again through Facebook ads.
In order to be able to add the Facebook Pixel tool to your site successfully and without any problems, you need to follow a set of steps. You must first create a Facebook Pixel account (if you do not have one before). Then you must take the code that Facebook generates for you (which is JavaScript code) and embed it into your WordPress site.
Here is a complete and detailed explanation of these steps with pictures.
First: Create a Facebook Pixel account
1. Go to the Facebook Ads Manager home page and click on the Go to Ads Manager button

2. Click on the list of tools that appears as three horizontal lines, then choose the Event Manager tool .

3. If this is your first time in the Events Manager tab, click on the green + button next to the phrase ( Link data sources )

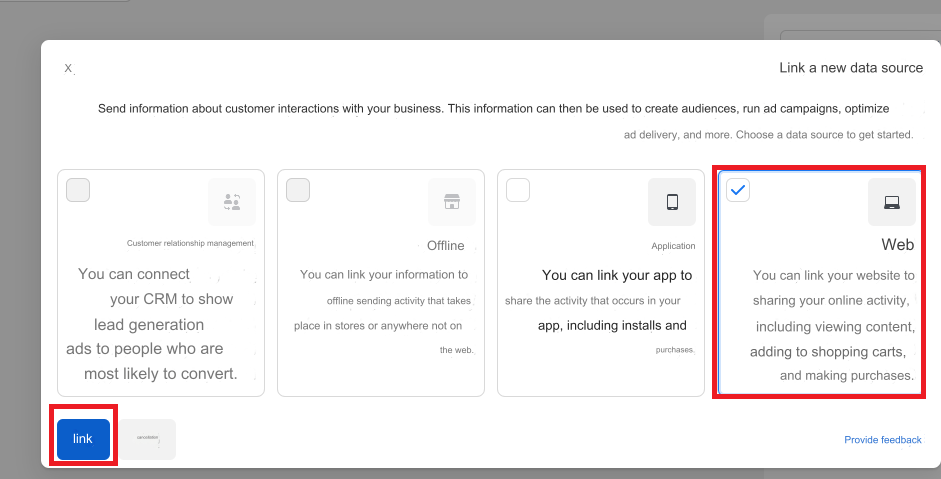
4. Now choose the first box ( Web ) from the three options that appear in front of you because you will link the Facebook Pixel to a website. Then click the Link button at the bottom in order to complete the linking steps.
5. Now choose the Facebook pixel as your primary choice and click the Connect button again.

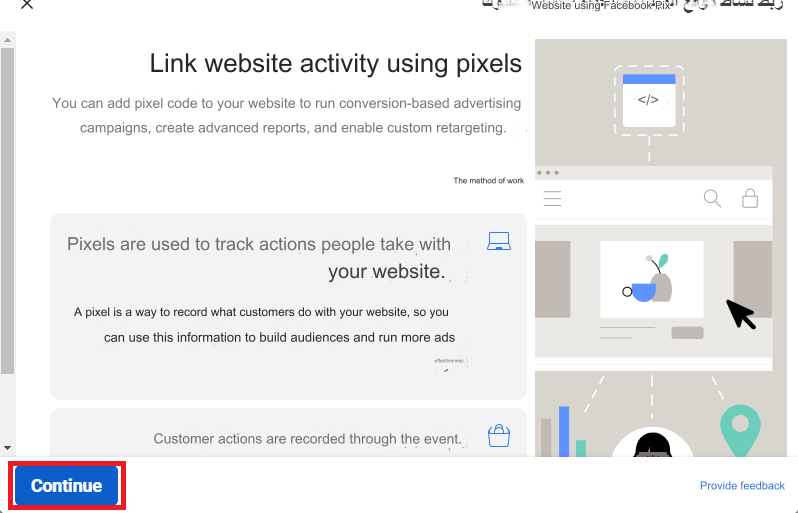
The following explanatory window will appear. Click on the Continue button to proceed to the next step
6. In this window give the name of the pixel you are creating to make it easier to follow later. Enter the URL of the site you want to embed the Facebook Pixel into and click the Next button to begin the linking process and generate its pixel ID.
Note:
You can only create one pixel per ad account, so choose a name that best represents your business.
7. Now the pixel will be created, and the pixel ID of your site will appear as follows.
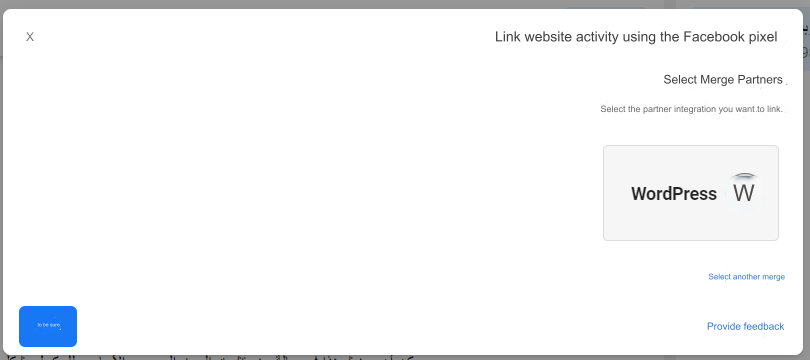
Note: During the setup process, Facebook Pixel allows you to choose the option to integrate partners. This option allows you to specify the external platform on which your site or application was created, if any. This allows you to link your site to the pixel without the need for code. In this case, you will be shown a set of steps that you must follow to link the Facebook pixel to your site according to the platform you selected, but we will not adopt this method currently and will continue to copy the code to our website.
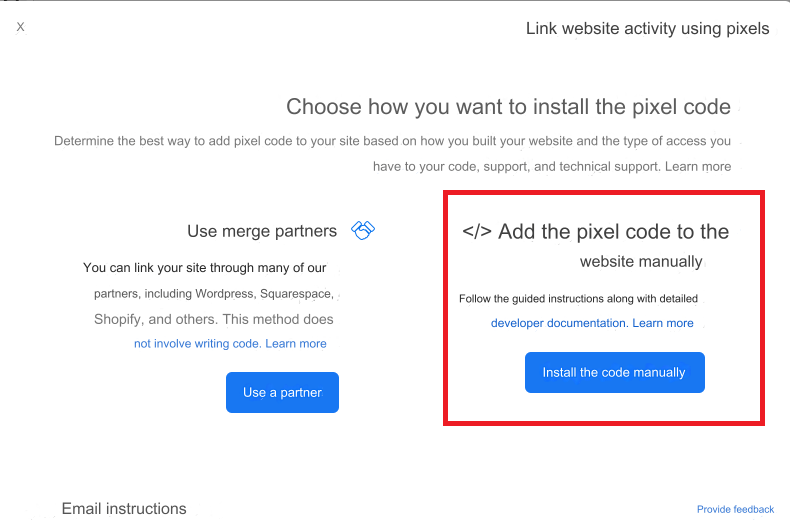
8. If you do not specify a way to integrate partners to link your website, then you need to manually link the pixel to your website through code. So close the previous window, complete the pixel setup steps, and choose to add the pixel code to your website manually as in the following image.
9. You will then see a window containing the linking code. Copy the shown code by clicking on the green button (copy code) as shown in the following image:

10. Now that you have copied the code, you must complete the installation of the pixel on your site itself. Close the Facebook Ads Manager and return to your site’s control panel to complete the second step in linking.
Second: Add the pixel code in the <head> tag
To facilitate the process of adding the Facebook pixel code to a WordPress site, we will rely on the (Insert Headers and Footers ) add-on, which is considered one of the most popular free add-ons through which you can add code to a WordPress site easily and without problems.
- Log in to your site> Choose Plugins> Add New> Install the Insert Headers and Footers by WPBeginner add-on and activate it on your site. You can see how to install plugins in WordPress in the following article
- Now go to the Settings tab in the control panel and choose the option > Insert Headers and Footers
- Paste the Facebook Pixel code that you copied from the first step into the Scripts in Header field as shown in the image.

4. Now, after pasting the code, click the Save button at the bottom of the previous page, and you will have successfully added the Facebook pixel to your site.
With this, you have completed the process of linking and embedding the pixel on your site. After that, the pixel will collect and analyze data, and you will be able to use Facebook Pixel analytics when creating your advertising campaigns or sponsored ads for your business on Facebook.

Add a Facebook pixel using an extension
You can also add a Facebook pixel to your WordPress site using the plugin ( Pixel Caffeine ). It is a free custom plugin and is supported by AdEspresso, which specializes in managing and improving ads on Facebook (which means it receives continuous updates and improvements).
With this add-on, you can start creating custom audiences on Facebook to send highly targeted advertising campaigns. You can also integrate Pixel Caffeine with Facebook Dynamic Ads and with WooCommerce to automatically track visitors based on what they saw on your website (product name, product category..) and other Options that enable you to optimally retarget your customers on Facebook or Instagram.
Therefore, this add-on enables you to install Facebook Pixel and follow it easily from within your WordPress site or WooCommerce store directly, easier and faster.
The add-on directly links your Facebook advertising account to your WordPress site.
In addition to the ability to follow your website visitors and your product list, it also enables you to follow and manage your Facebook Pixel account completely from within the control panel. You can install and activate the plugin as we explained in the steps to install and activate the WordPress plugin .

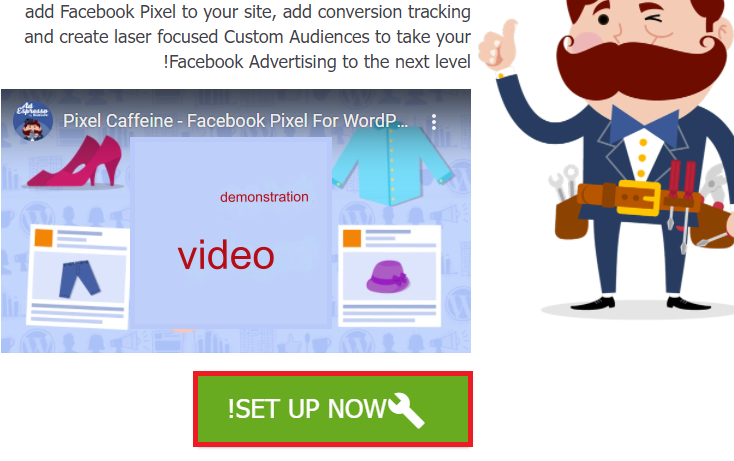
Then, after activating the add-on, the name of the add-on, Pixel Caffeine, will appear at the bottom of your site’s control panel. Click on it to show you the add-on page, which shows you an introductory video about the add-on that you can watch, and then click on the SET UP NOW button to start setting up the add-on.
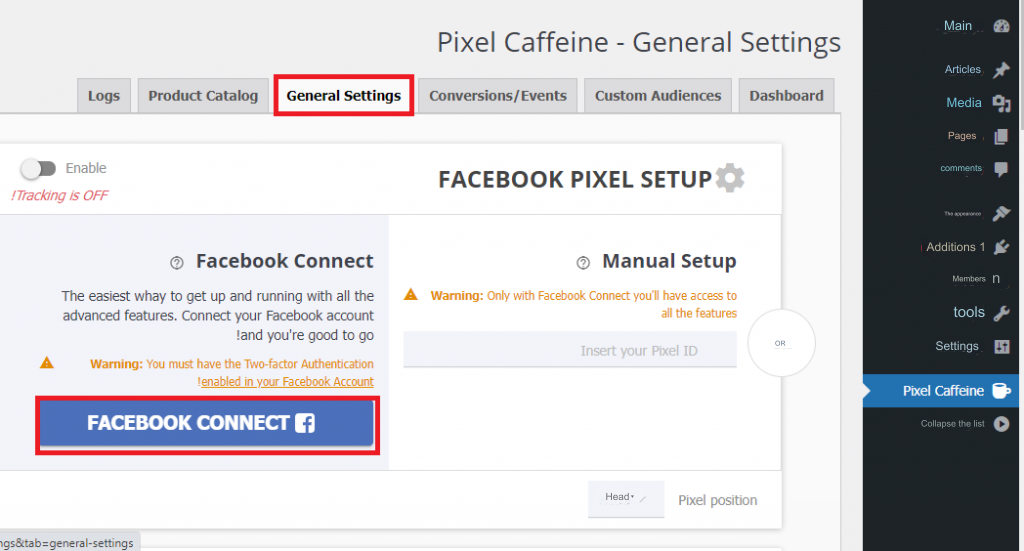
You will go to the general add-on settings page, click on the General Settings tab and the FACEBOOK CONNECT button will appear in this window. Click on it to link your Facebook Pixel account directly to your website. As shown in the following picture
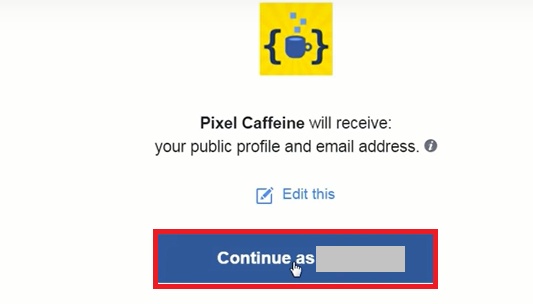
4. Now you will be asked to proceed to your Facebook account and the extension will obtain your general profile data and email address. Click the Continue button to continue.
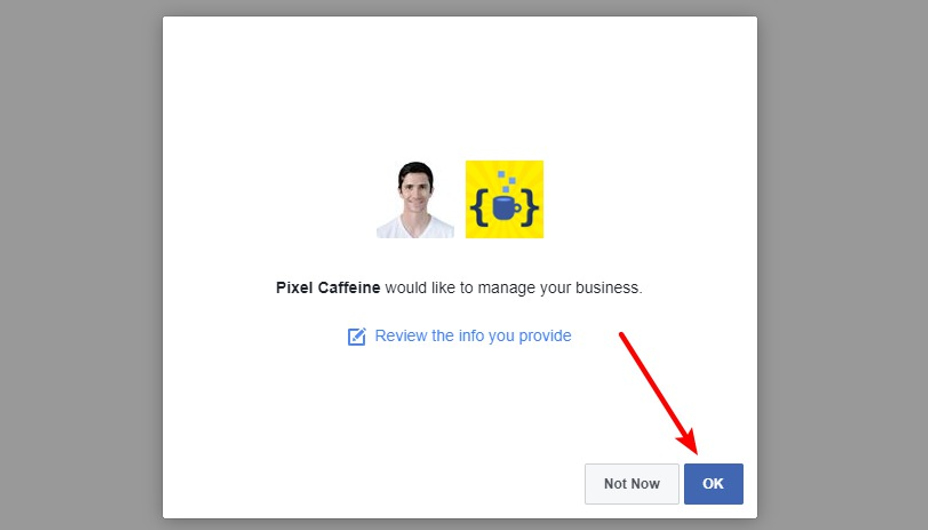
Then the following message will appear telling you that Pixel Caffeine is now managing your account. Click the OK button to grant it this authority.
Now you will return to the plugin page on your WordPress site. Here you have to select your Facebook advertising account (AD Account) and your Pixel ID that was generated in the first step.
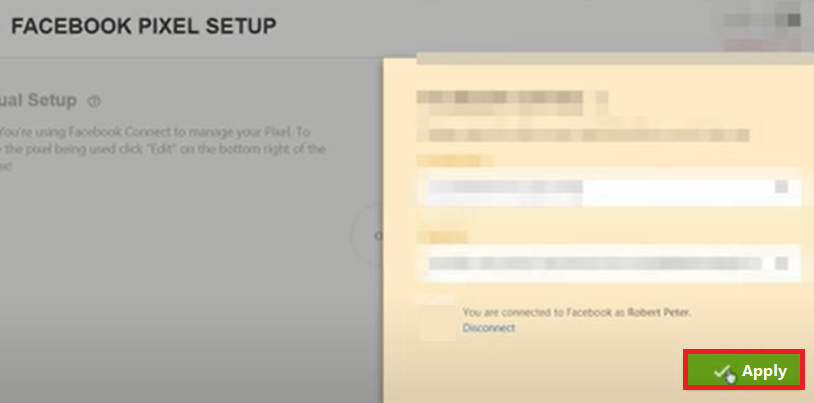
Thus, you have finished linking the Facebook Pixel account from your site simply through the pixel ID only, and it is assumed that the Facebook Pixel is now working correctly on your site.
You can get additional features by browsing the rest of the add-on tabs, control all the options and features of your Facebook Pixel account, set up custom audiences for your upcoming ads, measure the results of your ads, and improve your advertising campaigns and sales without leaving your WordPress site or your WooCommerce store.
How do I know if Facebook Pixel is working properly on my website or not?
You can find out whether your site has been successfully linked to the Facebook Pixel account or not, and whether it is working properly on your site and collecting and recording events on your site as planned using a simple add-on to the Google Chrome browser.
All you have to do is install the Facebook Pixel Helper add-on , which is an official add-on available in the Google Chrome store and approved by Facebook, to find out whether the pixel was installed on your site without errors and to understand the events that the pixel records. Below we explain the steps to install and run this add-on.
- Install the extension for the Chrome browser first through the following link ( Facebook Pixel Helper )
- Log in to your WordPress site that you linked to the pixel.
- A special icon or icon will be added to the top of the Google Chrome bar. Now click on this icon
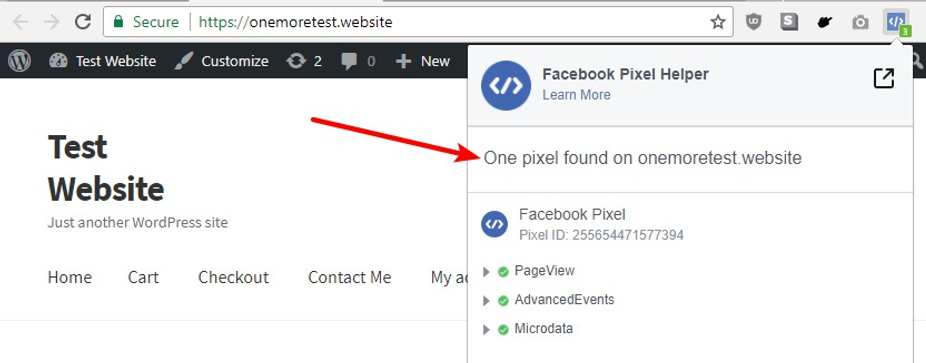
- If the Facebook Pixel is running, the extension icon will be blue and a message similar to the following image will be displayed.
5. If your site is not properly connected to the Facebook Pixel, the extension icon will appear in a dull gray color and will display an error similar to the following message.
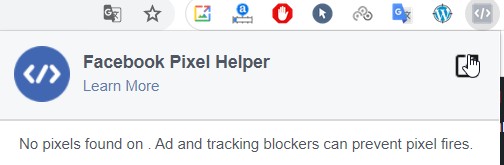
6. In this case, you must first make sure to close adblock, which blocks pop-ups and ads, if it is activated on your browser and try again.
7. If this problem remains apparent to you, review all the steps explained above to perform the linking process, as there may be an error in one of the steps you took.
Conclusion
Thus, our article for today has ended, as through this article we learned about the concept and features of the Facebook Pixel, which analyzes the visitors to your site who interacted with it and targets them with ads in a thoughtful and systematic manner instead of random targeting. In this way, you can make the most of advertising on the Facebook and Instagram platforms. In our article, we explained two ways to add the Facebook pixel to your site. The first method is to manually copy the Facebook pixel code and add it to your site’s header. The second is through a very simple add-on that links your Facebook Pixel account with your website directly through the pixel ID in simple steps and without any complications.