

The concept of the WordPress Loop is considered one of the basic concepts in developing WordPress templates, as it is responsible for fetching site data of any type dynamically and displaying it on any page of the site based on certain parameters.
In this article, we will explain through practical examples how to use the WordPress loop and explain how it works within a WordPress template to bring default articles into WordPress, and then you will be able to use it and customize it yourself properly when developing your own WordPress theme.
What is the WordPress Loop?
The WordPress loop is a code written in the PHP language whose primary function is to display default WordPress posts (particularly articles) or any custom post type on the various pages of the site.
The WordPress loop depends mainly on the while loop instruction (and may use other loops such as foreach). It usually calls within it a set of ready-made functions dedicated to displaying information about the site’s posts or articles. It also uses tags known as template tags that Typically used to display and format specific data for articles.
These tags are PHP functions used to create and display information. WordPress includes many implicit tags that you can use, and you can define your own tags and use them within the template you are developing.
For example, the WordPress loop displays a set of data about each article, such as (article title, article date, article classification, article content…) and has the following general form:
The previous code is a WordPress loop that means that when there are articles, go through them one by one and then display them.
We started the previous code with the if conditional statement, followed by the have_posts() function, which returns the Boolean value true if there are articles published on the site and false if there are no posts.
If the condition is met (i.e. there are articles), the while loop will be executed and display the information for the first article. As long as the have_posts function returns true, the loop will continue to execute and return true until it reaches the last article published on the site. The code then calls the_post function, which is a ready-made function in WordPress whose mission is to return the entire post.
Then, within the comment space in the code above, we have to write more functions that extract for us the elements that we want to display from the article or post. For example, to make the loop display the title of the post, the name of the writer, the date of publication, the thumbnail of the post, and the content of the post, we write the following code:
The code above uses a set of form tags to display data for each post. Here’s what each function means.
- the_title() function returns or displays the title of the post.
- the_author() returns the author name of the current post.
- the_category() : Displays the post’s classification
- the_time() displays the time and date and we pass an argument to it that represents the required format to display the date (‘F j, Y’). Here the date is displayed in the following format: month name, day number, year. You can learn more about date formats in WordPress here .
- the_content() displays the entire post content.
- the_post_thumbnail() : Displays the thumbnail image of the post, and here I would like to point out that displaying thumbnails is usually not enabled by default in a WordPress theme. Rather, you must activate this feature in your theme by writing the following line of code in the template functions file functions.php.
There are, of course, many other tags that you can use in a WordPress loop, and to see a comprehensive list of all of these tags, you can return to the following reference .
Use WordPress loop to display articles on the home page
As we mentioned at the beginning, the loop code is used in different ways in several template files, or what are known as template template files, such as the index.php file, or any other template file that needs to contain specific information about one of your site’s posts, but of course the elements that are displayed will differ. From each publication, the way it is displayed varies according to each page and the design of your template.
You must be familiar with the basic structure and hierarchy of WordPress templates so that you can determine which file will be used when displaying any page of the site, and determine the correct place within which you should write the loop code.
In this paragraph, we will initially explain how to display articles published on the site on the home page in the following simple form:
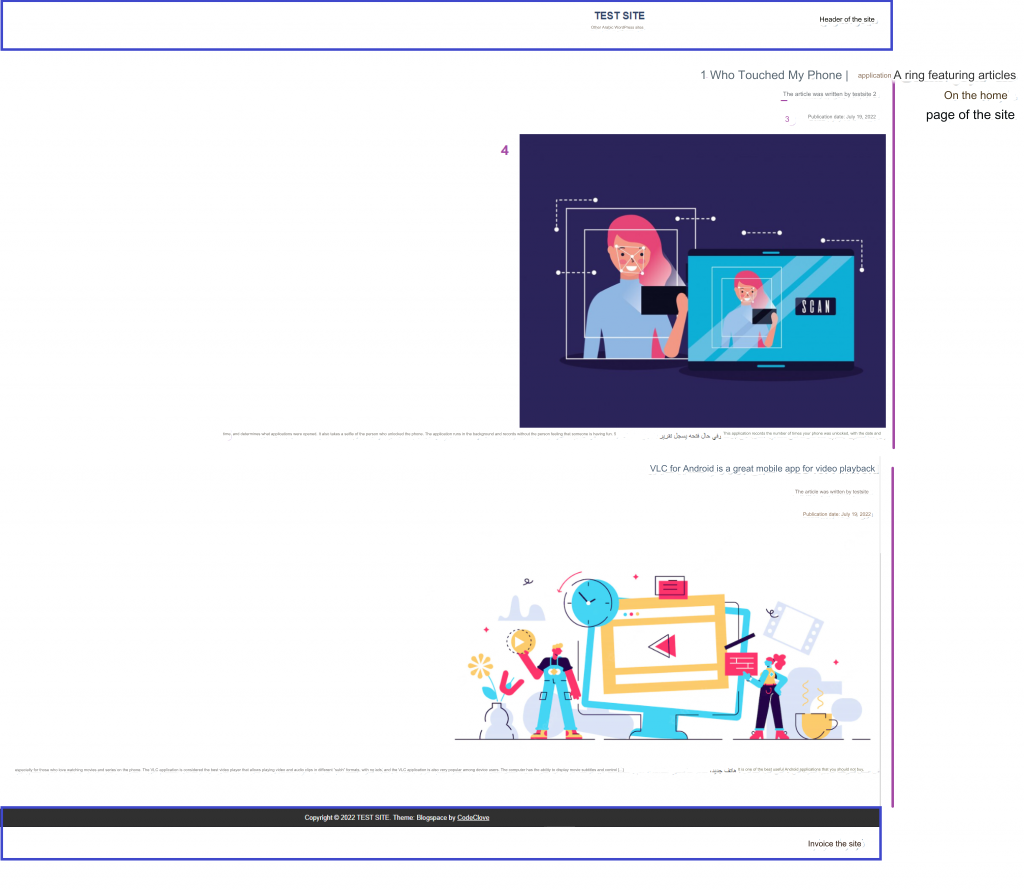
To obtain this result, we write the following code in the index.html file of our website template:
At the beginning of the code, we called the get_header() function, which is responsible for displaying the site’s header, and at the end of the code, we called the get_footer() function, which displays the site’s footer. (We have explained these two functions in detail in the following article)
Note that we used another condition before executing the loop, which is the is_home() condition, which is a conditional tag built into WordPress that checks whether the site’s home page is the blog page that displays the site’s articles and not a custom static page.
Read more: What are Conditional Tags in WordPress?
We also made the text strings that we will display on the site translatable by passing them to the _e() function, and any suitable alternative translation functions can be used here. For more information, I recommend reading the following article and the following article for more about translating a WordPress template.
Of course, the previous code needs more formatting to become more professional, and you can add classes or ids to HTML tags such as div, main, etc. and format them within the template formats file style.css with the design that suits you.
Improved WordPress loop to display articles on the home page
It should be noted that the settings of my current site on which I am implementing the code only display the last two articles on the site’s home page, so the code shows me the last two articles published on the site and I cannot view the rest of the articles. For this reason, we need to improve the loop a little and add a navigation section to see the rest of the articles.
Also, the title of the article appears as fixed text, and we need to make it a clickable link and make it take us to the page of the article itself, as shown in the following image.
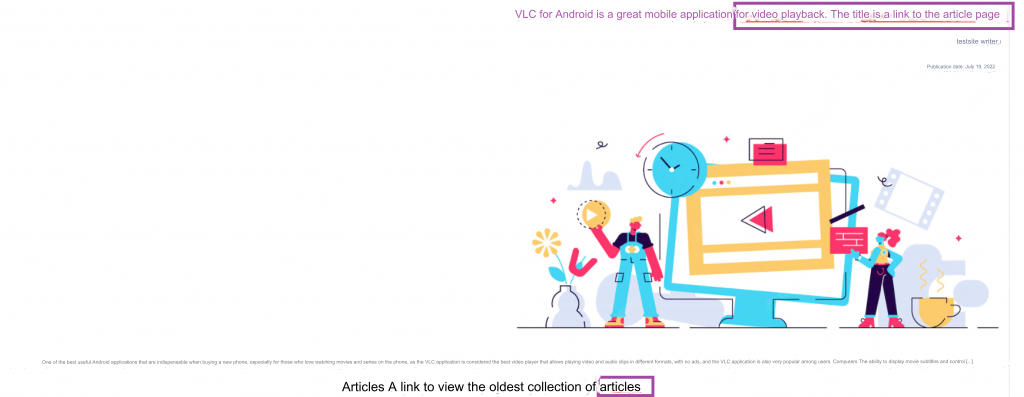
To do this, we modify the code to be as follows:
In the previous code, we wrapped the article title function with the tag <a> to turn it into a link, and we passed to it the ready-made function in WordPress the_permalink() , which returns the permalink to the current post.
We also called the_posts_navigation() function after completing the execution of the WordPress loop code, which displays the next and previous link to the obtained set of articles.
Improved how the article snippet is displayed inside a WordPress loop
The last addition that we will make in the previous code is to change the shape of the three dots that appear at the end of the excerpt of each article and replace them with a Read More link. The reason these dots appear is because the_excerpt() function automatically truncates the first 55 words of the article and then places the next string […].

We want to change this automatic behavior and replace these three points with a custom link that takes us to the main article page, with the text of the link saying (continue reading), so that the excerpt looks more professional.
To do this, we will rely on the excerpt_more filter hook and pass it the text string we want by writing the following code in the functions.php file:
In this code, I added an action filter to change the way or behavior of the excerpt display function in WordPress, and I linked to this filter my own function ola_new_excerpt_more (callback function). This function identifies the beginning of the global variable that represents the article $post, then it returns the fixed link to the article and makes the text for this link He continues reading.
When you execute the previous code, the article will appear as follows:

Read more: Explanation of WordPress Hooks and their importance for theme and plugin developers
Use a WordPress loop to display an archive of articles
In this paragraph I will explain another example of using the WordPress loop. Here we will rely on the foreach loop to display the article archive on the home page of the site as follows:
To display this information on our main page, we will write the following code in the template template file index.php:
Note that in the previous code we query the WordPress database using the global variable $wpdb, which is an object or programming object from the wpdb class that is used to enable direct access to the WordPress website database and perform operations on it.
In this article, we challenged the tmp6276db_posts table, which is the table that stores all the site’s posts. As you know, there are several types of default posts in WordPress, and there are different statuses for the post , and because here we only want to get published articles from them, we set two conditions for the query to bring us articles (the condition post_type = ‘post’) that only have a published status (the condition post_status = ‘ publish’)
We stored the result of the query within the variable $myposts, and in order to obtain all the articles that the query returns in the form of an array, we use the get_posts function and pass to it the value of the correct parameter that represents the number of posts we want to display (if we pass the value of negative one to the parameter posts_per_page or the alternative parameter numberposts, the function will return to us all the articles that I got it in the query, and if we pass a positive integer we will get a specified number of articles).
Finally, we pass through each element of this array through the foreach loop, and notice that in this loop we use the global variable post$ , which represents the purpose of the WP_Post class , and it stores the current article. Then we display the data we want for each article. Here, as you can see, we display the date and title for each article. As a permanent link to the article.
For more examples of using the WordPress loop, I recommend checking out the following article from the official WordPress developer guide.
Using a WordPress loop more than once on the same page
You can use several loops on one page or in a single template file within a WordPress theme, but in this case we must pay attention to the need to reset the loop and the parameters it uses before reusing it again within the same page.
There are several ways in which a WordPress loop can be reconfigured, and the simplest of these methods is by using the rewind_posts() function between each loop code and another, as follows:
Another method used to reset the loop is the wp_reset_postdata function , which resets the global variable post$ to point to the current post. It is usually used when using the WP_Query class to query posts within a WordPress loop, as it returns the query object to its original state.
You can also use the simple function wp_reset_query that resets the query used within a WordPress loop. It creates a new query and cancels the old one in order to avoid getting unexpected results if you use loops several times on the same page.
Conclusion
In today’s article, we learned about the basics of the WordPress Loop, which is responsible for displaying site posts on various pages, which is considered an essential thing that any developer needs when developing any WordPress template. We reviewed a variety of practical examples of WordPress loops and how to apply them in different template files.
There are of course many other methods and ways in which the loop can be used within your WordPress theme, and in this article we have tried to provide you with a sufficient basic understanding of the concept of the loop in WordPress so that you can begin developing your own codes according to your requirements. If you have any questions or problems with the loop code in WordPress, you can inform us about it in the comments below the article.