forms are among the components that help create interactive content with site visitors to a large extent. Recently, many sites in various specializations have been displaying many types of quizzes within the site to increase the degree of visitors’ interaction with the content.
In this article, you will learn about the importance of using quizzes on the site, the difference between their different types, and the way to design and display them on your WordPress site using the simplest methods.
Create test forms on site
Creating quiz forms on the site is one of the things that many site owners do to encourage visitors to interact more within the site, in addition to its importance in increasing the period of visitors’ stay on the site, as visitors usually interact from interactive content such as quizzes that display many The visitor is presented with questions and receives answers from him, based on which he displays a message to the visitor or makes an offer to him after completing the quiz.
One of the important things that your site benefits from using quizzes is that participants share the test results on their social media accounts, which contributes greatly to spreading the name of your site and increasing its fame to a wider audience.
Also, including quizzes on the site helps diversify the content within the site and interact with visitors, especially if the content of the site requires them to stay for a long time on the site, which encourages them to stay for longer periods and interact with the content without getting bored.
Types of test forms and choose the most appropriate type for your site
There are many types of quiz forms that can be included on the site, and site owners create quizzes that are compatible with the site content and encourage visitors to have a better browsing experience. Here are some of the most popular types of quizzes that you can display within your site:
- Personal Question Quiz : It often consists of a set of personal questions, and the person answers them and at the end a text or image message appears to him telling him something about some analytical information about him based on his answers. Its purpose is to provide the content of a personality test, and these quizzes are considered the most shared. Through social media.
- Information quiz : Or the so-called educational quiz, which is mostly specific to educational websites or educational course sites , where quizzes are created that test the student’s or reader’s information, and based on their answers, some rewards are offered to them, which encourages them to complete more training courses within the site.
- Analytical quiz : The purpose of this type is often to analyze the data of site visitors and benefit from them. Many questions are presented, the aim of which is to collect information about visitors and their preferences. This data is used to provide more appropriate content to visitors, and perhaps to obtain mail. This is an electronic form for participants and is often intended to collect data.
Steps to create quizzes within your WordPress site
There is often a plugin in WordPress that performs any task that we want to implement within the site, and there are some WordPress plugins that provide you with the ability to create quizzes within your site in easy and simple steps without the need to write some programming.
In this explanation, we will rely on the Quiz And Survey Master add-on , as it provides many features and options that help you create interactive quizzes with appropriate customization options.
After installing the add-on and activating it on your site, you will notice that a new tab appears inside the WordPress control panel bar, which opens the add-on management panel page, and inside it you will find the Create new Quiz button , which when you click on it opens an editing page from which you can create your first quiz on your site.

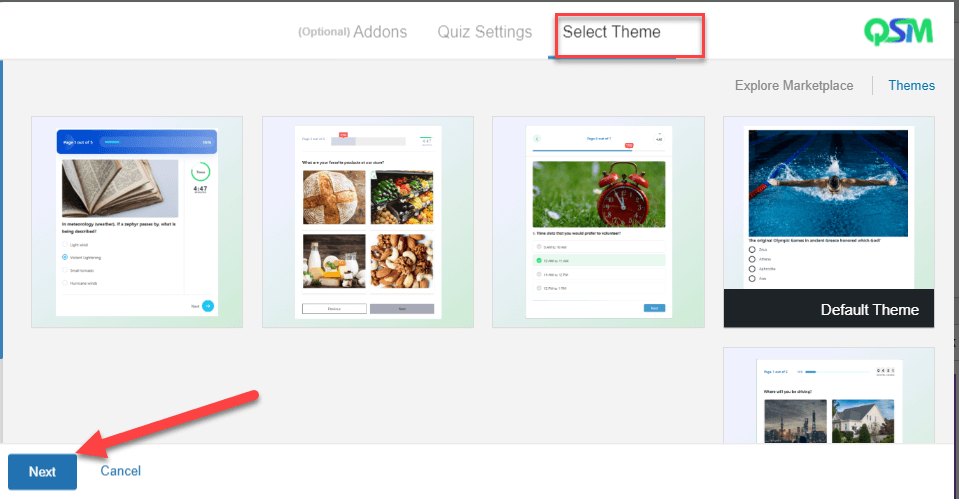
Then you will be asked to choose the template you want to use in designing the quiz. Usually, you will have one template available in the free version called Default theme, and the rest of the templates are available in the paid version.
Select the template and click Next
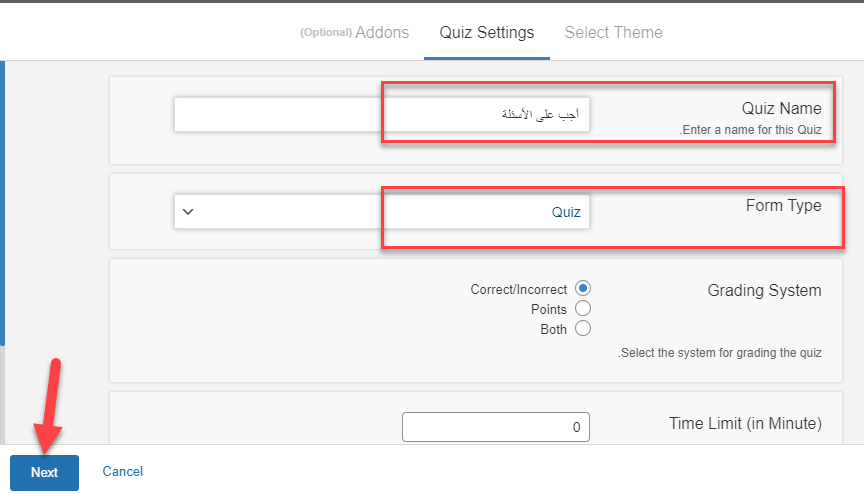
Another box will appear in front of you, as in the following image, asking you to write a name or address for the quiz. Enter the address you want and click Next
After that, the page for creating questions for the quiz that you want to display on the site will open for you, where you enter the questions that you want to display and also enter the specific answers, making it clear that the page for creating questions in the quiz is divided into 3 main parts, where each part is used to enter Data of the question to be presented to visitors.

In the first part , you write the title or name of the quiz, and this name appears to site visitors at the top of the quiz questions page.
The second part of the question editing page is for answers, where you enter several answers from which the visitor chooses the correct answer. Next to the answer that you want to consider as a correct answer, select the Correct box next to the answer box. In the part for writing answers, you can add more answers by clicking on the button. Add new answer
The third part is the post box for the question, where you will find the Question Type field from which you can choose the question type, where you can choose the question type (multiple choice) or (true and false) and other types of questions, and after you finish writing the question Click on Save Question to have the question published in the quiz.
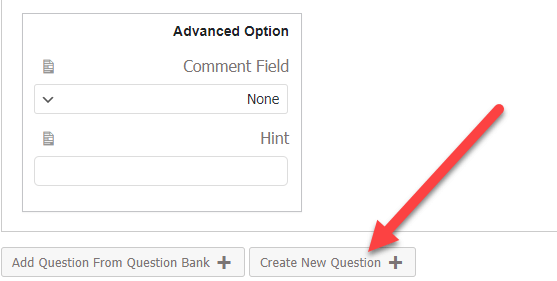
Within the same page for editing existing questions, you will find the Create new question button , which you can always use to add more questions to your quiz.
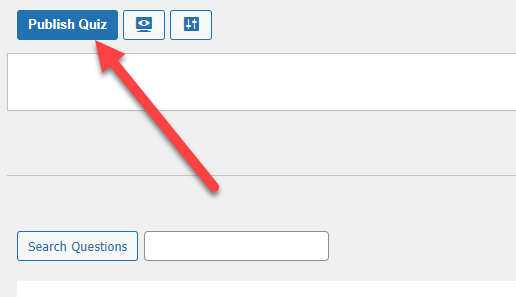
After you finish writing the questions and their answers in the quiz, you can click on the Publish Quiz button at the top of the question editing page.
Then, after publishing the quiz, you can click on the review button shown in the following image to go to the quiz page within the site

The quiz will look like the following image, where the questions appear in front of the reader and the correct answer can be chosen and sent

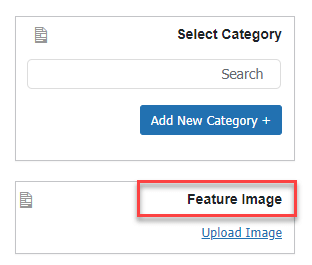
If you return again to the control panel, you will find that you can display an image next to any question, from within the quiz questions editing page, which contains a Featured image.
You can also control the welcome text that appears below the quiz title

You can enter the welcome text for the quiz shown in the previous image by going to the Text tab from within the quiz editing page.

As you can see in the previous image, inside the Text tab, you will find the text box indicated by the red arrow, where you can write the welcome text that you want to appear below the title. You can also delete the welcome text from the beginning, and after the modification is finished, save the quiz.
Note that in the previous image, on the left, you will find a box titled Allowed variables , in which you will find three variables. When you click on one of them, it will be added to the welcome text automatically, and they are as follows:
- %QUIZ_NAME% displays the name of the quiz in the welcome text
- %QUIZ_LINK% shows the link to enter the quiz
- %CURRENT_DATE% shows the date the quiz was published within the welcome text
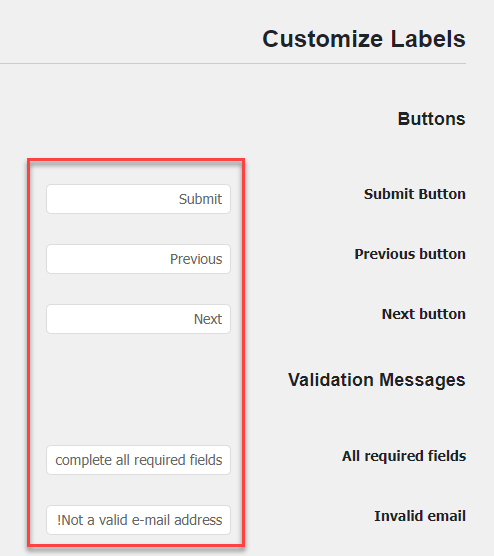
Also from within the current TEXT tab , when you scroll to the bottom of the page, you will find that you can change the fixed texts that are displayed on quizzes, such as the Next and Previous buttons that appear when you have a quiz consisting of more than one question.

In the TEXT tab, you will find a group of fields in which you can change ready-made texts into texts of your choice
Also, in the Options tab , you will find many options for controlling the form and method of displaying the quiz to your visitors

You will see that under the Options tab there are dozens of options that you can control in your quiz, such as the Require user login option , which you can choose to ask visitors to be registered on the site so that they can complete the quiz, and also the Retake quiz option , which allows the visitor to repeat the quiz in the event of a mistake. In the answer, and many other settings that you can browse within this tab to control the quiz completely and professionally.
You can also control what happens after the visitor completes the entire quiz, as you enter the Result page control tab , to find that it is divided into two main parts as follows:
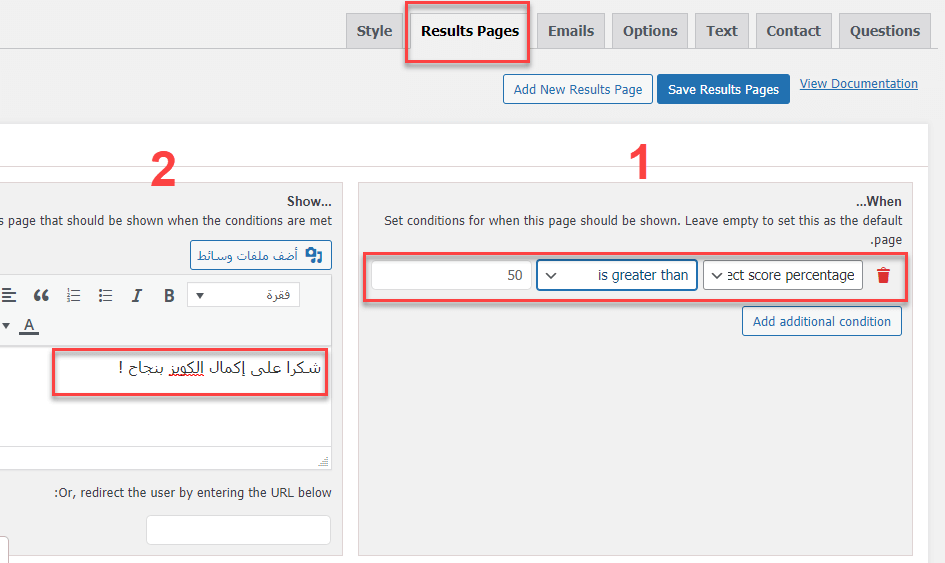
(1) In which you choose the response status or the percentage at which you want to show a message to the visitor. For example, you can choose that when the visitor’s answer is greater than 50%, a message is shown to him that you enter in the text box that appears in front of you in the second part (2).
(2) It is the text box in which you enter the message that you want to show to the visitor after completing the quiz and obtaining a certain result. The second part also contains a small field at the bottom that you can paste a link into so that the visitor will be directed directly to it after completing the survey.
Thus, the plugin provides you with all the options that help you create many types of quizzes within your site. The plugin automatically sends the answers to the quizzes to your email within WordPress, and you can also control that from within the plugin settings page.
In the end, you can use the idea of quizzes in many website specializations across the Internet, as whatever the type of content within your site, you can create quizzes that encourage visitors to interact more within the site and thus maintain the highest period of stay for them on the site.
You can also create interactive questions so that visitors can share the results on their pages on social networking sites. Thus, you have the opportunity to obtain larger numbers of visitors who are interested in the types of content that you provide within the site.


Leave a Reply