

timeline is a visual method used to show a group of events or stories that occur in sequential periods of time. For example, commercial companies’ websites can use it to show the stages of the company’s development or the expansion of its business activity since its establishment, for example, on the About Us page in a visually attractive way.
In this article, we will show you several free plugins that enable you to display timelines on your WordPress site. We will also show you in a practical way and in detailed steps how to include a timeline on your site, and benefit from it to deliver information to your visitors in a professional way that contributes to increasing confidence in your site.
Best WordPress Timeline Plugins
There are many free and paid plugins that enable you to add fonts or timelines to your WordPress site with great ease and flexibility, but before we review the most important of these plugins, let us review the most important criteria that help you choose the appropriate plugin to display your timeline.
- Before choosing any of the timeline add-ons, it is best to take a look at the demonstration or demo attached to this add-on to see how the timeline provided by this add-on will look and make sure that it is compatible with the shape you want to display.
- Also check that this plugin allows you to customize the layout and modify it to suit the identity and colors of your site. Many timeline plugins include customization options and multiple templates through which you can easily change the look of the chart with just a few clicks.
- Check the nature of the content that the add-on allows you to include in the layout. Some add-ons allow you to display only text, while other add-ons allow you to display more than that and attach icons, images, and even video clips or HTML codes customized according to your needs.
- Some timeline plugins provide buttons to share the timeline on social media and this contributes to improving and increasing the number of visitors to your site.
- Finally, be aware that some plugins add their own custom post type to display within the timeline, and others can display the content of default WordPress articles and customize the display of specific content for the article, such as the article title, featured image, and other details within the timeline.
Here are the best free WordPress timeline plugins:
1. Add Cool Timeline
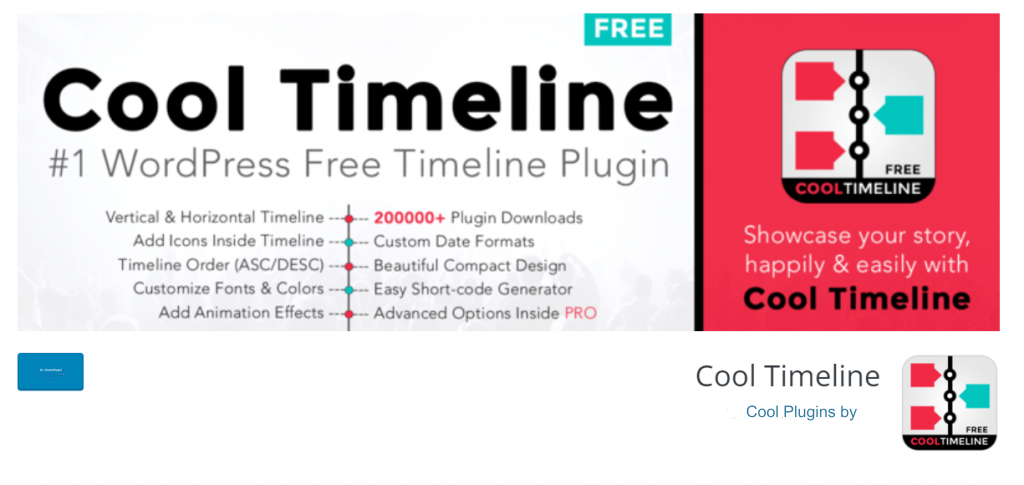
Cool Timeline is a free WordPress plugin that enables you to create responsive horizontal and vertical timelines on your site using HTML and CSS codes and enables you to embed them in your pages or posts using shortcode.
The add-on also has a professional version with additional options and animation effects that enable you to create and display events and stories in a distinctive style. You can view all the forms of timelines provided by the extension through this demo .
Cool Timeline add-on features:
- Display the timeline horizontally or vertically
- The ability to create a timeline that displays images.
- A lightweight plugin written with clean code.
- Customize the timeline colors to your liking.
- It mainly focuses on creating an elegant and easy-to-use timeline integrated into a WordPress website.
- Possibility of displaying events on one side of the timeline or on both sides.
- The ability to create a tab that includes a slider menu for the timeline
2. Add Timeline Event History
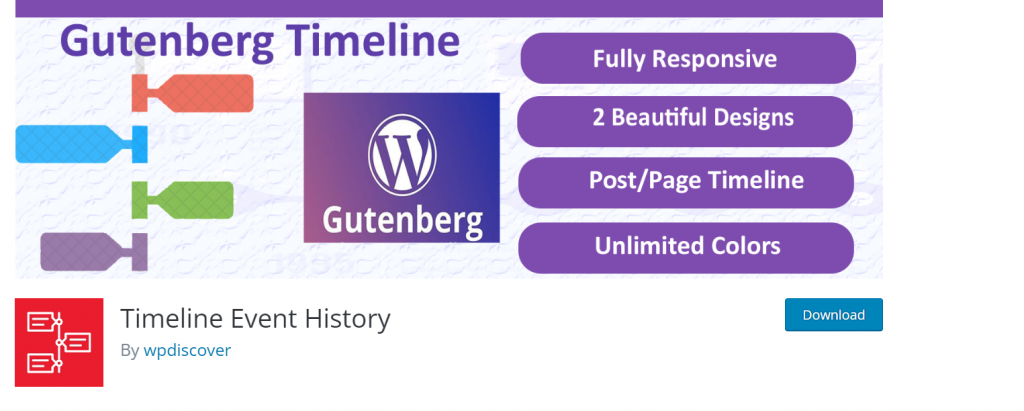
This plugin is compatible with the modern Gutenberg plugin editor and enables you to display a timeline to display content in chronological order, such as the story of your company, your personal achievements, or other chronological stories, on any page, article, or even on a widget on the sidebar of your site.
Through this add-on, you can also display your blog articles within a timeline, and create several timelines on one website based on different categories.
The addition provides the ability to customize the display of the chart in horizontal or vertical form. It also provides you with an advanced panel to control various chart options and easily change the fonts, colors, and background used. You can also set a custom color for each story in the chart. Preview a demo of the extension charts .
3. Add Event Timeline
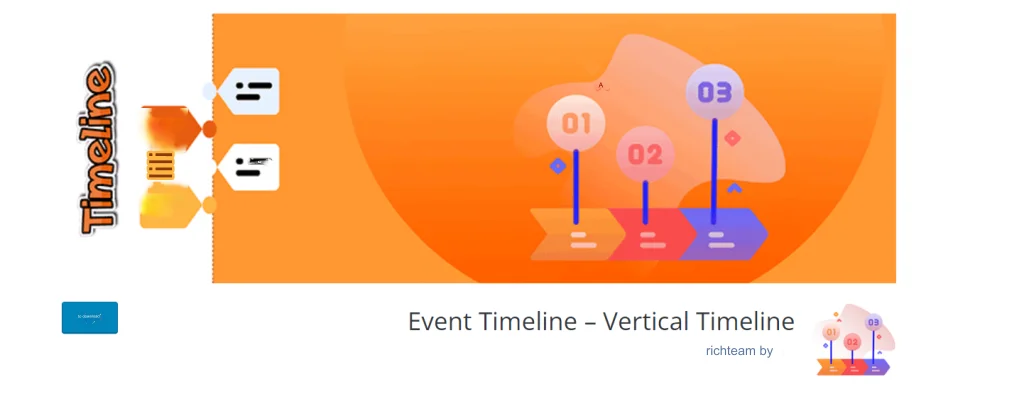
This add-on provides you with the ability to display the timeline of your or your company’s content in an elegant horizontal or vertical layout that is responsive to mobile phone screens. It also enables you to convert your blog articles to a timeline through the chart template builder.
You can also insert images and videos into your planner, and customize the layout’s design and colors, page numbers, and other features to suit your business identity and the template used on your site. It is a light and easy-to-use addition. Check out a demo of the timelines the plugin provides.
4. Add Everest Timeline Lite
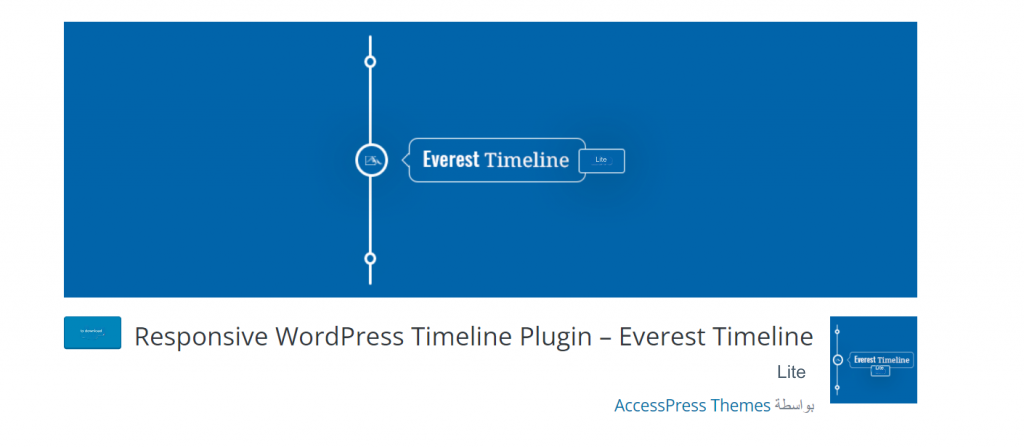
This plugin is available in a free and paid version, and it enables you to display a responsive timeline anywhere you want on your WordPress site. It includes four ready-made templates for displaying a vertical timeline layout, each of which comes with different types of customization options.
Using this add-on, you can create an unlimited number of timelines. You can also display your site’s articles in a timeline and share them on various social networks or send them to your followers via email. Check out the demo of the free version of the plugin.
These were some of the free plugins used to display timelines in WordPress, and you can also find many other free plugins from the official WordPress repository that meet the requirements you need to display your timeline. If you do not find a free add-on that suits your requirements, you can then resort to more professional paid add-ons.
Steps to create a timeline on the site by adding Cool Timeline
To use this plugin on your WordPress website, you must follow these steps:
1. Install and activate the add-on on your site
To use this add-on on your site, go to the Site Admin Control Panel > and choose Add-ons > Add New > and search for the name of the add-on in the search bar. When the add-on appears in the search results, click on the Install Now button to install it, and after the installation is complete, click on the Activate button to activate it on your site .
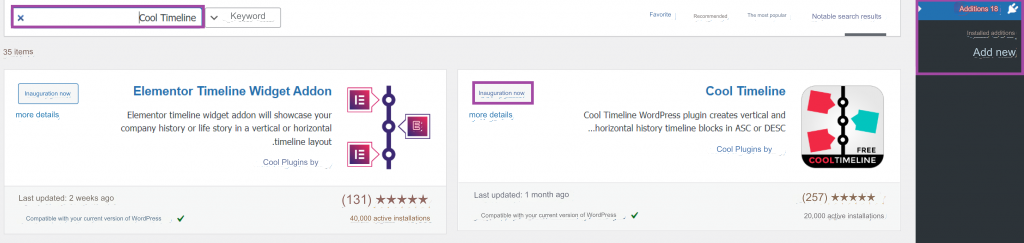
After activating the add-on on your site, you will see a new item called Timelines Addons appear within the tabs of the site’s control panel.
2. Control the add-on settings
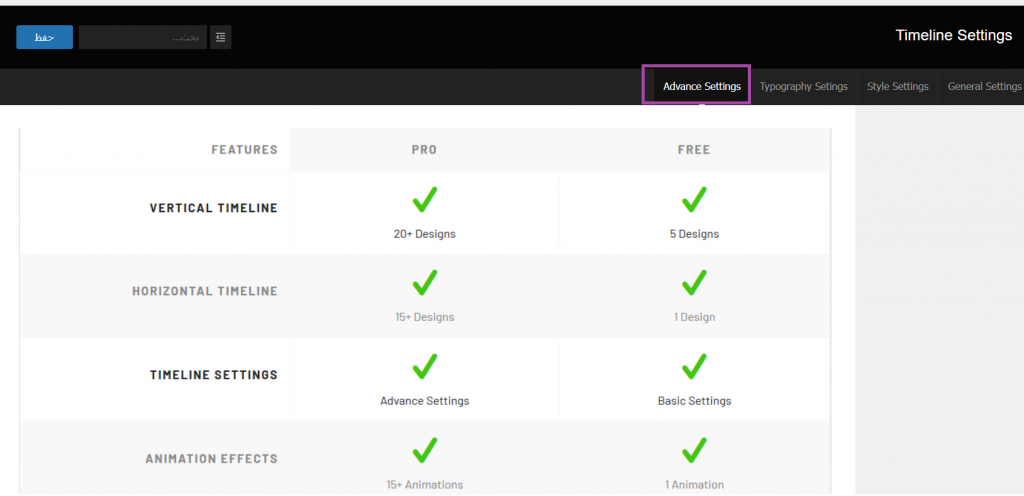
Click Timelines Addons in your site’s dashboard and then choose Timeline Settings to display the add-on setup window that displays 4 tabs where you can customize how the timeline appears on your website as follows:
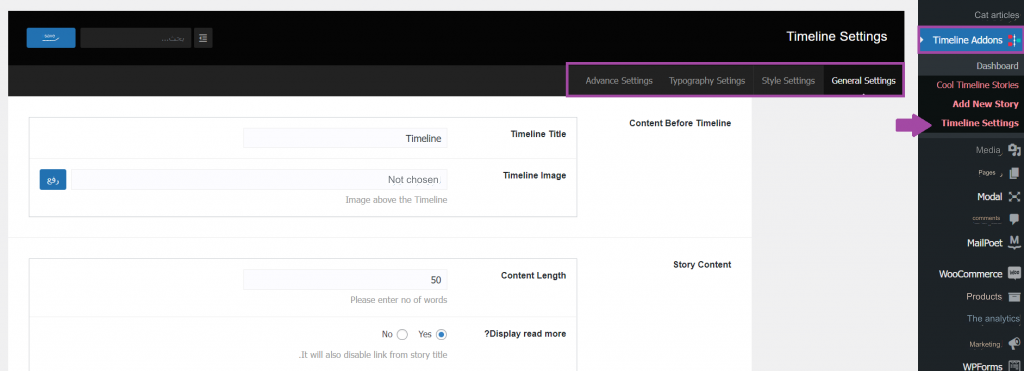
1. General Settings tab
It is used to customize the general settings of the timeline, such as the title and image that appears at the top of the chart, the size of the excerpts, i.e. the number of words that will be displayed from each story in the chart, whether or not the Read More link is available, and whether the elements will be arranged to the right or left of the chart if it is displayed vertically.
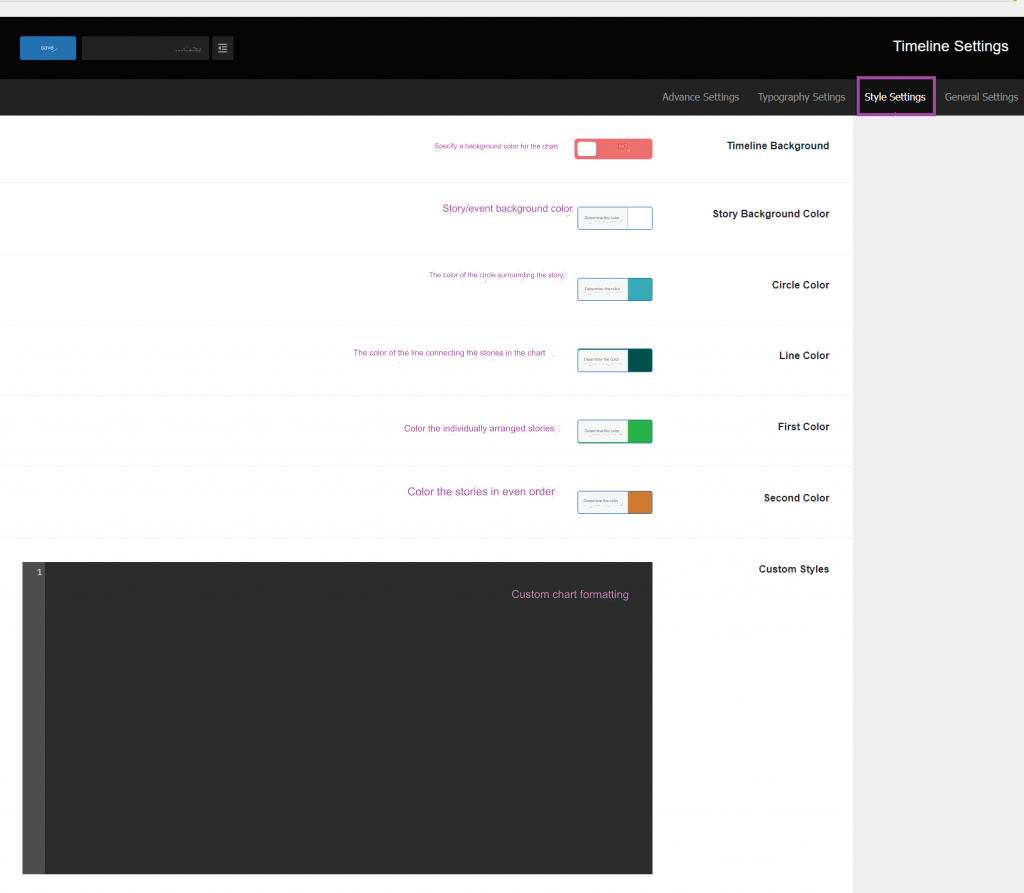
2. Style Settings tab
It is used to format all the colors of chart elements, and you can also add custom formatting options in the Custom Styles field.
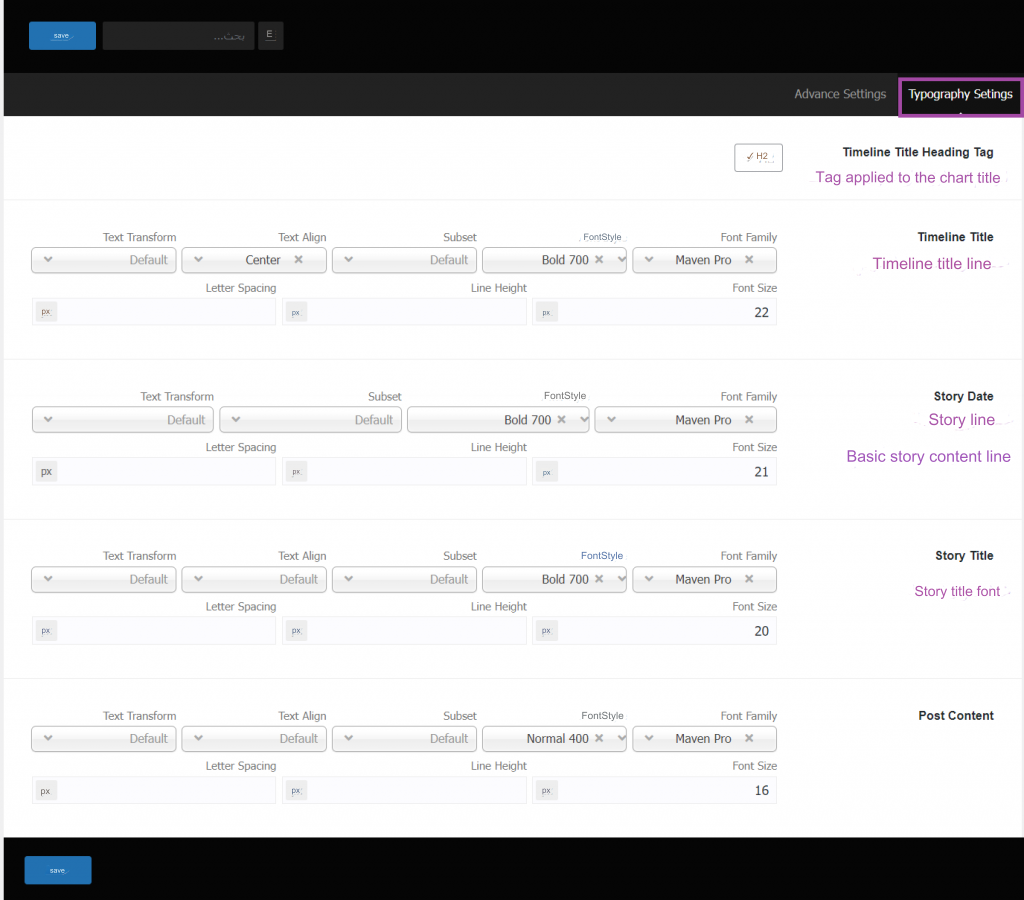
3. Typography Settings tab
It is used to control the text fonts used within all chart elements. From here you can choose the font type, size, character spacing, text alignment, and other options.
4. Advance Settings tab
This tab is used to display advanced options provided by the paid version of the add-on that are not available in the free version.
You can change any of these settings to suit your visual identity and the design of your website template. After completing, click the Save button to save the settings. Then continue to the next step
3. Create stories to display on a timeline.
To create a timeline through this add-on, you must create a group of stories or events that we want to display on this chart by clicking on Timelines Addons > then Add New Story .
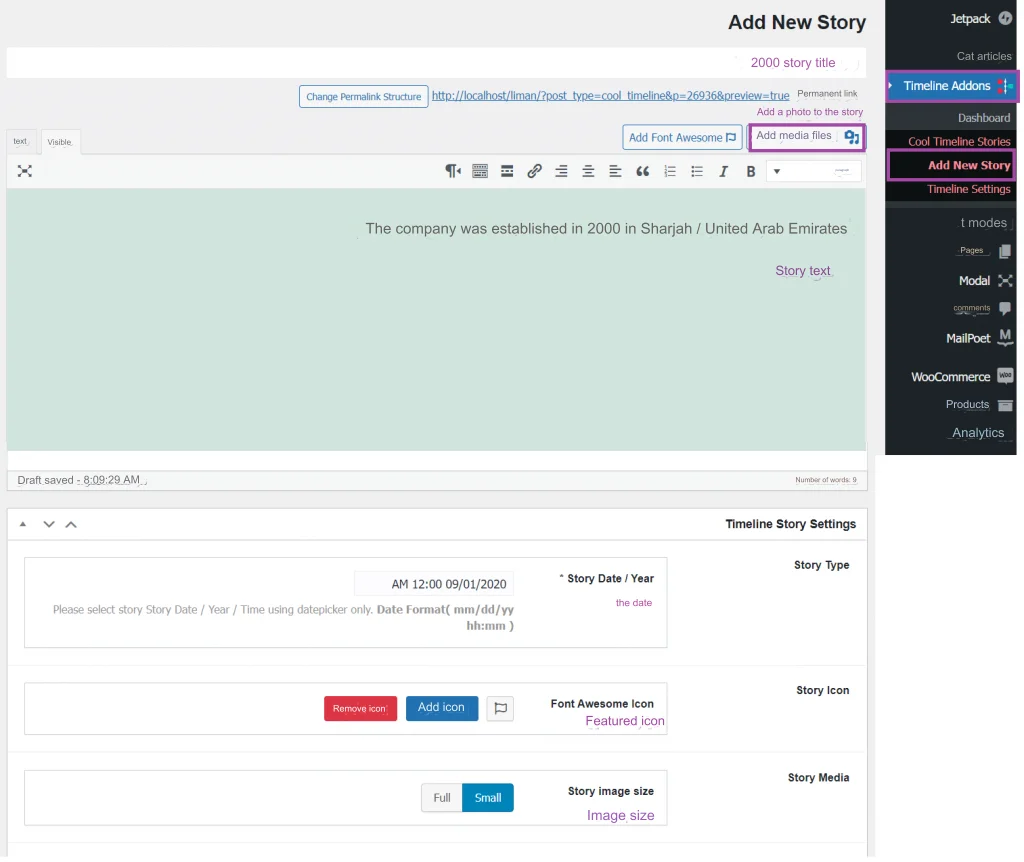
Here you will see an editor where you can add the story you want. Select an appropriate title and text, add a photo or any media file to the story, or add a featured image for each story. In the Settings section, specify a date for the story through the date selector. You can also put a distinctive icon for the story using Font Awesome Icon, and after you finish writing all the required data, click Publish .
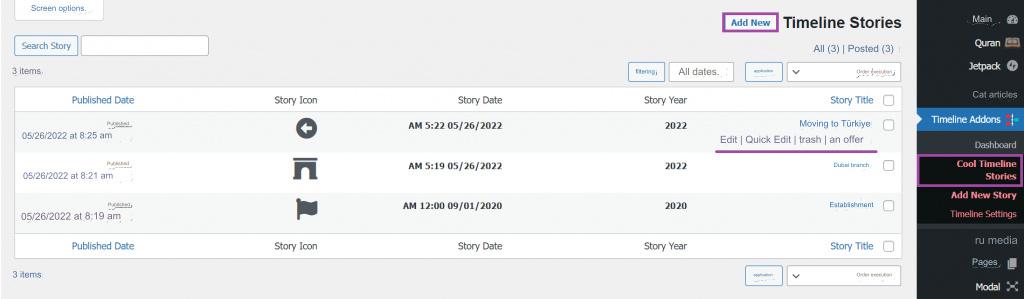
Add multiple stories with different timelines and post them the same way. Now, if you go to the name of the add-on and click on Cool Time Stories, you will see all the stories you entered, and from here you can edit or delete each story as you wish. You can also add new stories by clicking on the Add new button at the top of the window:
4. Add a shortcode component to your page’s timeline
Now it’s time to display the timeline on one of our website pages or articles. To do this, we create a new page on the site and display the chart as follows.
From your site’s control panel, choose Pages < Add New < and enter a title for the page, for example: Company history .
Now the page will open in the block editor, click on the + icon to add a new component and choose the component named Cool Timeline Shortcode block as follows:
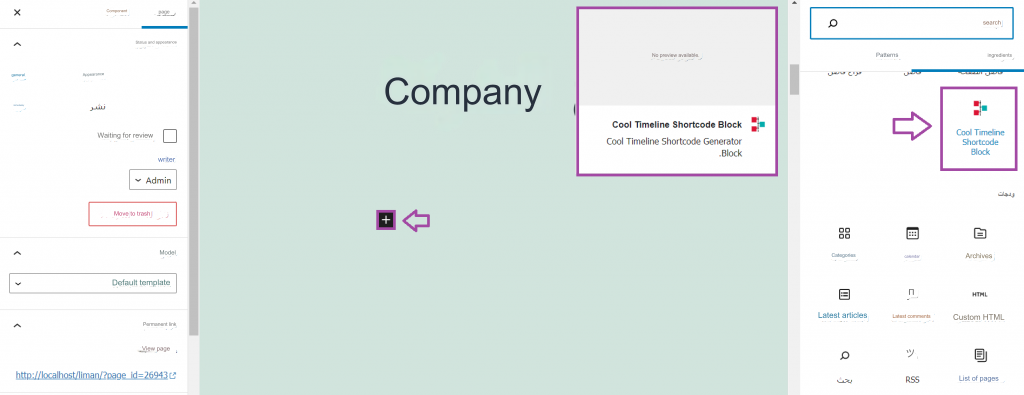
The component will look like when you edit the page as shown in the following image.
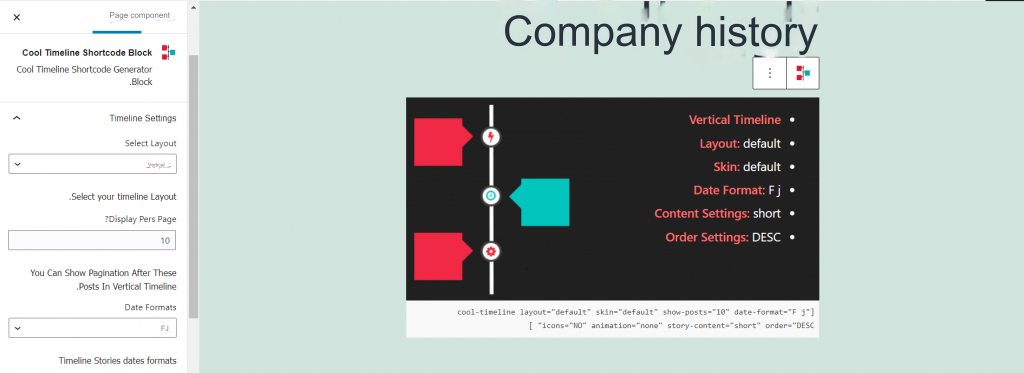
From the component editing sidebar, you can customize many options for the timeline, such as the layout’s position (horizontal or vertical), specify the number of stories to display on each page, change the skin, determine whether icons should be displayed or not, show animation effects, and display stories in order. Ascending ASC or Descending time, and other options that control the way the chart is displayed on your page..
You can preview the page to make sure the chart displays the way you want. After customizing all the settings according to your requirements, you can publish the page on your site and display it to visitors.
If we display the chart in a vertical layout on the page we just created, it will appear as follows.
If we choose to display it according to the horizontal layout, it will appear on the page as follows.
Conclusion
In today’s article, we learned about the concept of the timeline and its importance on WordPress sites, whether to tell your story or the story of your brand. We learned about the most important additions to creating a timeline in WordPress. We also explained the practical steps for adding and customizing the timeline easily through the Cool Timeline add-on.
Try adding the timeline now to your site and take advantage of it to display the history of your business or display any content that has a specific timeline on your WordPress site in a professional way that gives your visitors more confidence and credibility. If you are already using the Wamny chart on your site, share your experience with us in the comments and tell us which plugin you are using to display this chart and what type of information you display in it.