WordPress website owners need to create a slider, whether on the home page of the site or any other page, which is one of the things that blog and website owners research and care about a lot. If you own a blog, a news site, a site for your business exhibition , or other types of sites , the first thing you think about is creating a slider on the home page of your site, in which you place a group of the pictures you want.
In this article, we will explain how to create a slider using the Smart Slider3 add-on, which is one of the easy add-ons that helps you create a professional design for your slider elements and the ability to control its components better.
Explanation of adding Smart Slider 3
The Smart Slider3 plugin is one of the most popular and easiest WordPress plugins, as it comes with an easy and simple interface and works with all WordPress templates. You can create and control your own sliders and designs through drag and drop, and it also contains ready-made templates that you can work on or you can start from scratch.
This add-on is compatible with many website building tools , such as (Page Builder – Elementor, Divi, Beaver Builder, Gutenberg), and others. The add-on is distinguished by the ability to create many layers as you work, and these layers include (image, title, text, Buttons, Vimeo, YouTube), and the add-on also contains an Arabic version.
Install the Smart Slider3 add-on
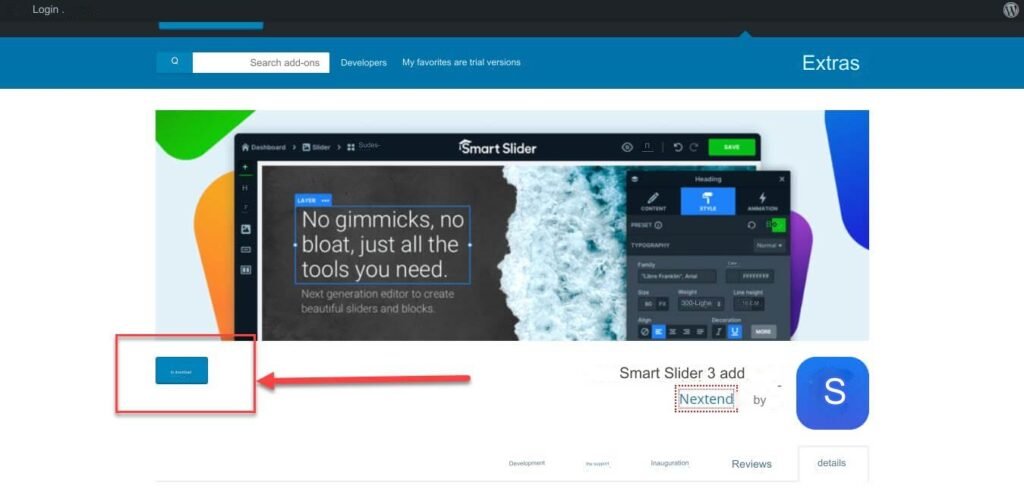
To download the plugin, you must go to the official WordPress website , and then download the plugin
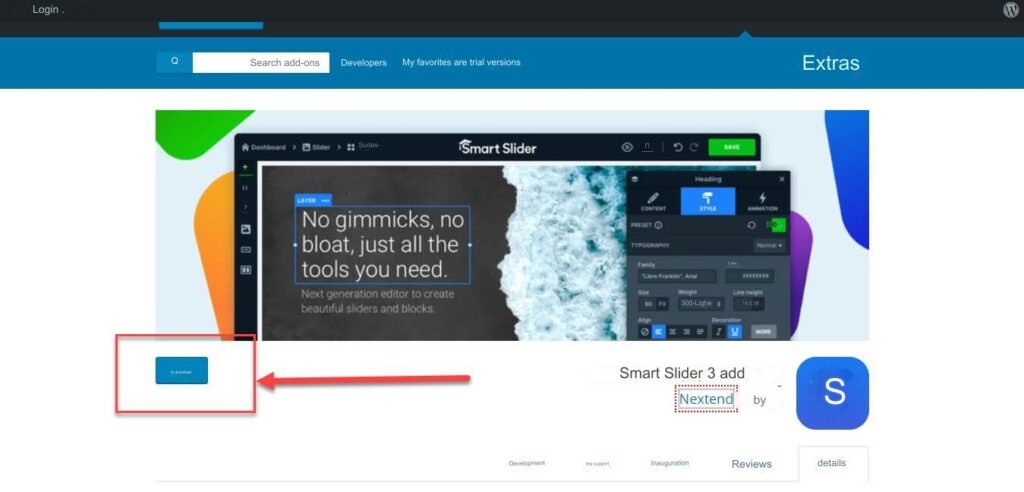
The plugin will be downloaded, in the form of a zip file, which you must upload to your WordPress site, by going to the WordPress control panel and clicking on Add-ons << Add New << Upload Plugin << Install Now

After that, you must click on the “Activate” option to activate the addition

If the installation and activation process is successful, you will see the control tab for the Smart Slider3 add-on in your WordPress control panel.

Create a slider using Smart Slider3
Let us now talk through a practical explanation of how to create a slider and publish it, in easy steps as follows:
- Create sliders
- Post the slider
- Additional settings
- Editing the slider
- Dealing with ready-made templates
Let us now discuss the details of these steps in the following lines.
1. Create a slider
To start working on the plugin, you must go to its control panel from within the WordPress control panel. Let’s get started by clicking on
New Project

The next window, where you can choose between creating a new project, using ready-made templates, or importing from your own files. In our example, we’ll choose to create a project from scratch.
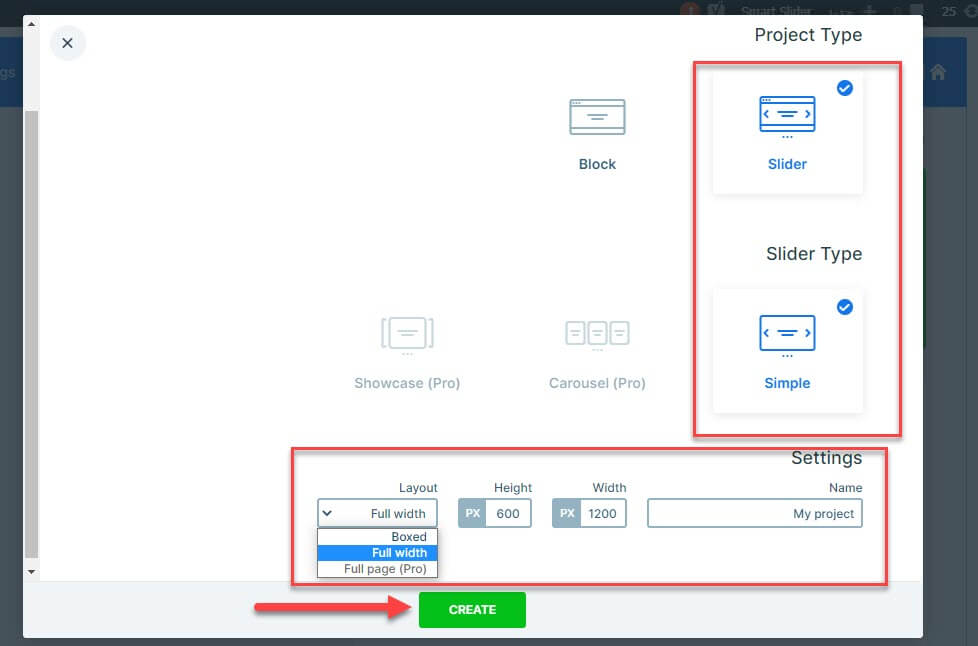
In the next window, we choose the project type, dimensions (width and height), and design shape (Full width or Boxed), then click Create . If you have the paid version of the add-on, you will have more options.
The next window, where you can start adding ingredients to the slider, is by clicking on Add Slide

You can add several components to the slider, such as (images, articles, slides, etc.). We will choose to add images to the slider, by clicking on Image.

It opens the media library to upload the images we want.

After that, you will notice that our photos have been added to the slider. By clicking on the three dots, you can delete the photo, copy it, or not publish it.

In this way, we have created a slider with basic settings, containing a group of images and ready to publish.
2. Publish the slider on your site
The Smart Slider3 add-on supports many content creation tools, such as (Page Builder, Elementor, Divi, Beaver Builder, Gutenberg) and others.
We will choose to work on the block editor (Gutenberg), where we can add sliders to any page or article you have. Let’s open a new article and add the slider inside it.
Go to Articles << Add new

The new article page will open for us, and to add the slider, you must click on the (+) sign and then choose to browse all

Then you have to search among the components for the Smart Slider3 add-on and click on it
The component will be added to the article, then we must click on Select Slider

A window will open containing all the slides that have been created, from which we select the desired slide and click Insert

We will notice that the slider has been added to the article

To preview how the slider will look in the article, you can click the Preview button .

The slider will look like the following animation
In this way, we have created a simple slider, with basic settings, and it was published in the article, but adding Smart Slider 3 gives us many options and features that help you create a more professional slider. To find out, you can go to step #3.
3. Smart Slider 3 settings
With this, you will have published any slider of your own, but then by returning to the page for the slider that we created, we will notice that there are great options for controlling the slider, as follows:

- General , which contains publishing methods (copy shortcode, component editor, copy PHP code).
- Size , to control slide sizes and dimensions.
- Controls , to control navigation options and image options (add arrows, buttons or text).
- Animations , to add various effects to the slider
- Autoplay , do you want to play the slider automatically, with options to set the time and others?
There are many options here within each tab, where you can browse them yourself and see the great features of the extension.
4. Edit the slider and start designing a professional slider
In this step, you can start professional work, as you can modify the slider by clicking on Edit

It will open a window containing the great and amazing possibilities of adding.

For example, you can add titles, new images, text, buttons, or columns.
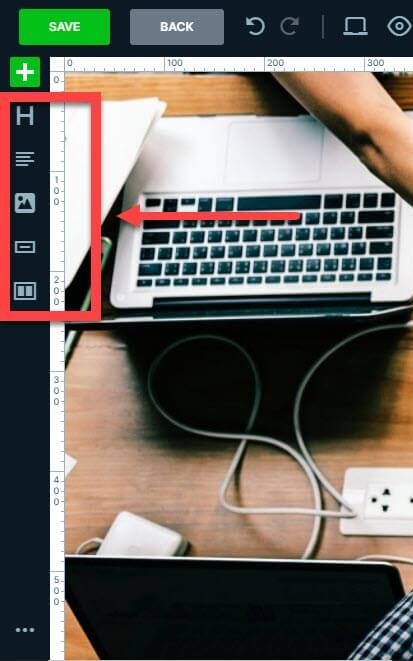
Also, by clicking on the (+) sign, you can add new layers to the slider, which can be (images, texts, videos from YouTube, Viemeo), etc.
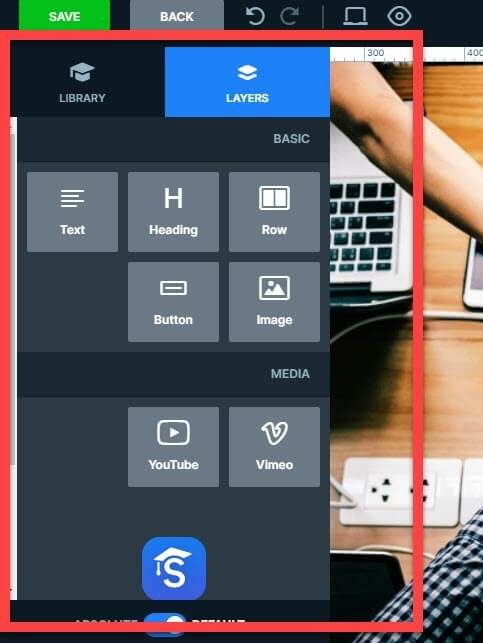
You can also preview the slider’s appearance on different screens

You can also control dimensions, effects, colors, graphics, and many other features that help you create a distinctive, professional slider. Finally, you can also work with ready-made templates and modify them to create your own slider.
5. Use ready-made templates
Instead of creating a template from scratch, you can use ready-made templates and modify them. We’ll go back to the beginning and select Start with Template
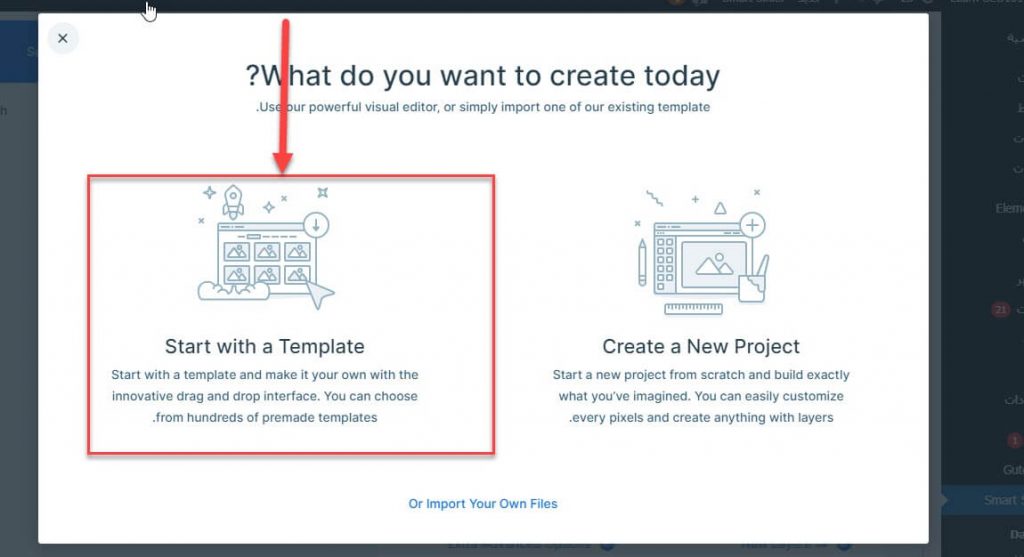
It will open a page containing a large number of free and paid ready-made templates that you can choose from

All you have to do is select the appropriate template and click Import

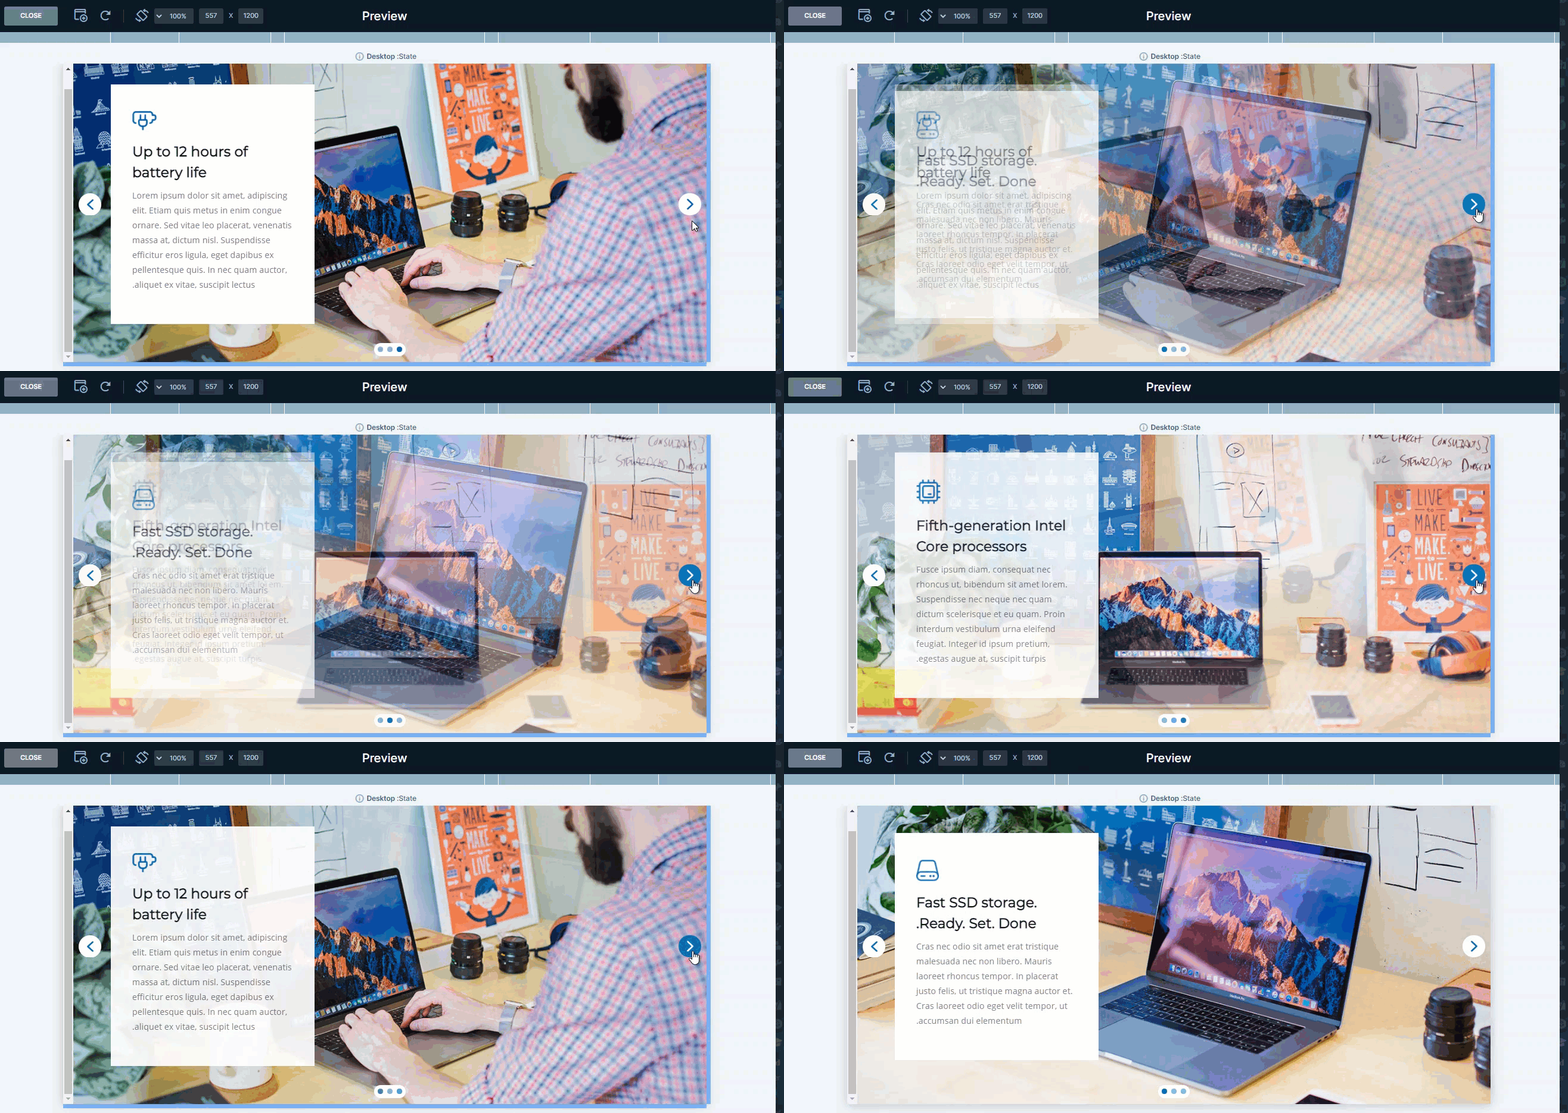
After that, you can repeat the previous steps to publish or modify the slider, where you can, for example, replace the template images with your own images, or replace the existing words, etc., and the appearance of the new template will look like in the following animation.
In the end, creating sliders for some pages of your site helps enhance the user’s interaction with the site, and there are several add-ons that do this task, but in this explanation we have relied on the Smart Slider 3 add-on, which can be used easily, so that it enables you to create designs from scratch or work with ready-made templates, and you can with With a little practice, you can design a professional and distinctive slider


Leave a Reply