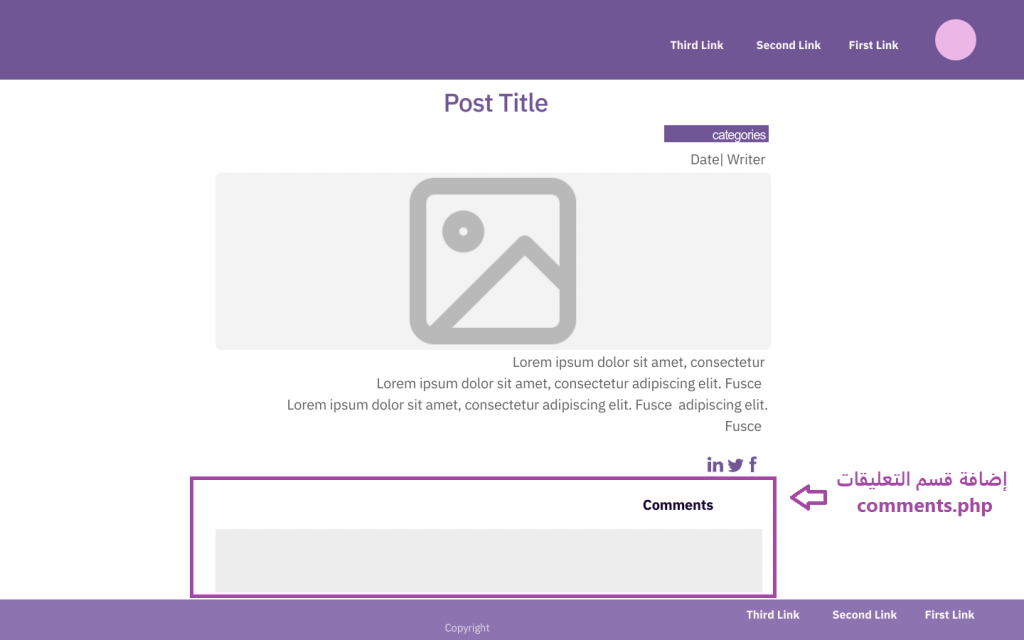
today’s article, we will complete the construction of the single post page, single.php, which we started creating in the previous lesson in order to customize the way the article page is displayed. We will add a new section below each article whose task is to display the comments form that allows the article reader to express his opinion about the article or ask his question or He will discuss it with you. We will also display all the comments written by other visitors about this article.
Fortunately, WordPress includes many ready-made, easy-to-use functions that enable you to include the comments form and the comments section as a whole very easily and without the need to write a lot of code to create the comment form yourself. All you have to do is call these functions in the position you need.
The comments section code can be written within the single.php template file itself if you wish, but it is better to keep the code more organized to create a separate template file called comments.php and write in it all the instructions related to displaying and organizing comments and then call them in the place you want, whether on the article page or Custom iPost page on your site.

Follow the following paragraphs to learn detailed steps to create, customize, and display the comments file in your theme appropriately.
Create a comments template file comments.php in the template folder
Go to your template folder, create a new template file, name it comments.php , and open it in your favorite code editor to start adding the necessary code to make this file work properly.
In this file we will accomplish three basic things:
1. Verify that the article is password protected
The first thing you need to do in this file is to call the post_password_required() function in WordPress. The function of this function is to check whether the current article or post that you are viewing is protected with a password and also to verify that the user has not entered the wrong password, because in this case we must exit the entire comments file with the return instruction and not process the rest of the file code. We do not follow the process of displaying comments or downloading the comment form.
2.View the comments list
After that, we follow the code and check the presence of comments in the current article that is currently displayed. To test this, we use the ready-made function in WordPress have_comments() , which returns the logical value true if there are comments and false otherwise.
Then, if the condition is met and the article contains at least one or more comments, we can display a list of these comments by calling the ready-made function wp_list_comments.
We can pass this function a set of parameters as follows:
Here is the meaning of these parameters:
- $args: An array or text string through which we can specify many formatting options for the comment list such as (style, format, type..) for example
- $comments: An optional array to which we can pass objects from the WP_Comment class .
If comments have been closed for the current article, we will display a message to the user explaining to him that he can no longer comment on this article. We can check whether comments are open for a specific post using the comments_open() function and thus the code necessary to accomplish the request and display the list of comments for each article. It will be as follows:
note:
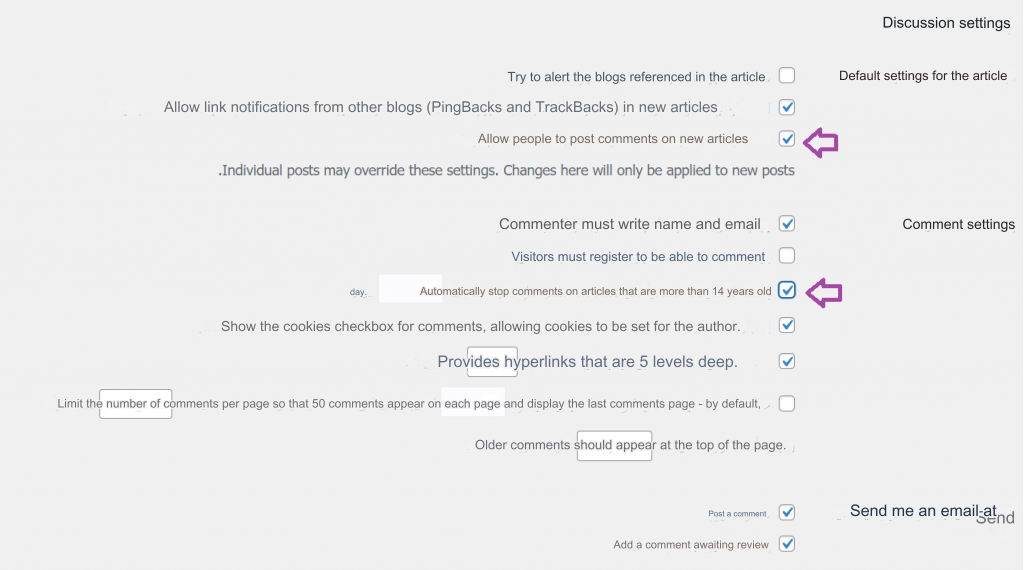
The process of allowing or closing comments for site articles and other comment options is controlled by going to your site’s control panel > choosing the Settings tab > Posting Options > Discussion > Discussion Settings .

Read more: Manage comments on WordPress sites and control their settings
3. Display the comments form
The last thing that must be done in the comments.php file is to display the comments form for the visitor to write his comment within. This is also easy and is available through the ready-made function comment_form , which outputs a complete comment form that can be used within the template file.
The comment_form() function accepts a set of parameters through which you can control the form and add or modify its code as you wish. It has the following general form:
- The first parameter, $args: is an array of parameters through which most form fields and strings can be controlled, such as (the name of the author of the comment, his email address, the comment textarea, the ID of the comment submission button, and many others…)
- The second parameter $post_id : It is an optional parameter whose default value is null. Through it, we can pass the id of the post or the WP_Post object to create the form for this post.
For example, to display our comment form, we write the following code in the file after the code to display the comment list:
Calling the comments template file in the single post file single.php
After we finished writing the necessary code for the comments, it is now the turn to display them under each individual article on the site. Go back to the single.php file that we created together in a previous lesson , edit it, and add the following code to it, specifically at the end of the WordPress loop code and after the social sharing buttons code as follows.
As you can see in the code above, we will first get the number of comments on the current article, and if there are already comments, we will first get the number of these comments using the ready-made function get_comments_number().
If the number of comments is one or less, we print a title for the comments section that includes displaying the number of comments and writing the word Comment (in the singular form). If the number of comments is more than one comment, we will display the title of the comments section by displaying the number of comments and writing the word Comments (in the plural form).
This is all that you have to add to the single.php file. Now, if you save the changes to the file and browse your site and view the page of one of the individual articles and write all the codes correctly, in this case a list of comments should appear for you, and then the comments form will appear correctly at the bottom of the article.
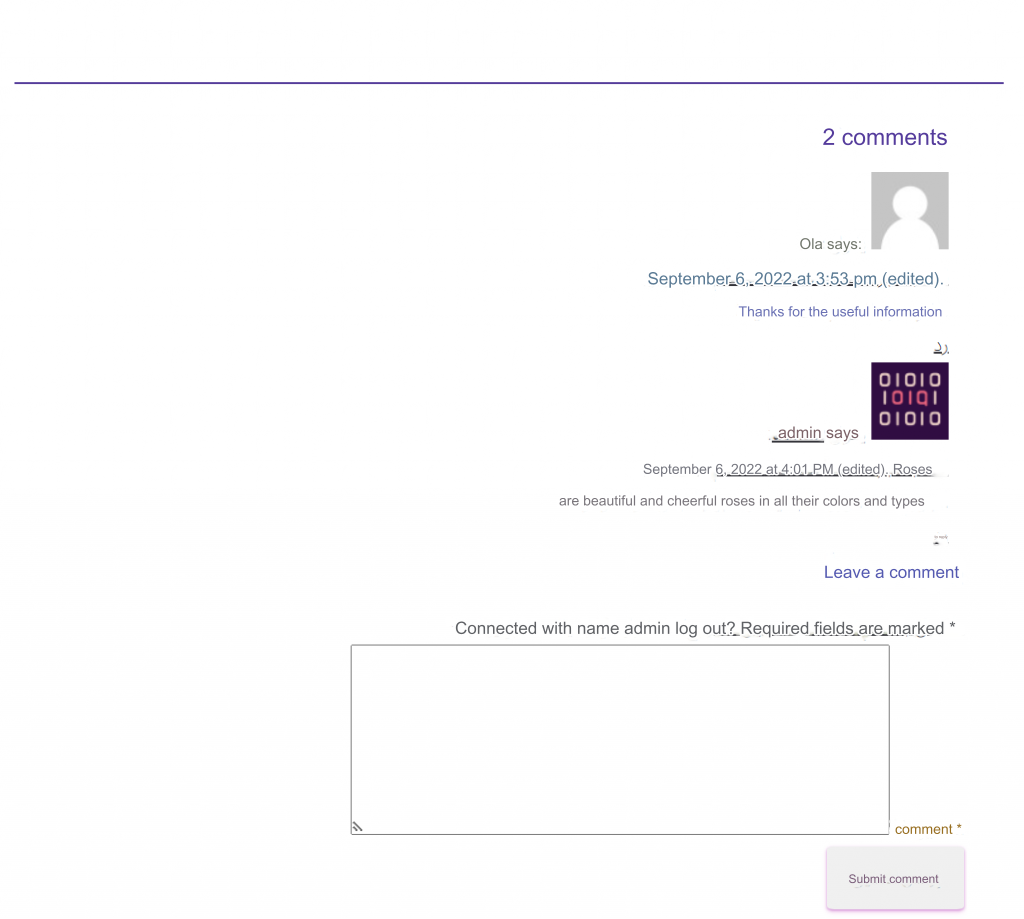
Here I would like to point out that if you have already logged into the site , you will only see in the comments form a text box designated for writing the comment as shown in the following image. The reason for this is that the WordPress system in this case obtains all the other details it needs about you ( Such as your name and email address from your personal profile on the site) and you are not required to enter them in the form.
If you are a visitor to the site and have not logged in to the site yet, in this case WordPress will ask you to fill out a set of other form fields to register your personal data before writing a comment. The comments form will appear to you as shown in the following image, knowing that the fields with the star symbol next to them It is mandatory and the visitor must enter it, while other fields are optional and can be left blank.

In our case, we have added some comments to our current article from several users to show you how a list of these comments appears, and then the comments form below the article as follows:

If comments are closed for this article, the comments that were added previously will be displayed, if any, but the comment form will not be displayed in this case because the comment_form() function does not display the comment form unless comments are open for this article, and instead of the form, the message we added will appear in this case. While writing the code, there is a code that explains to the visitor why the form does not appear.

With this, we have completed the task of adding the comments section to the single article page, and the last step that we need to do is to add some formatting to this section to make it appear more professional and consistent with the overall design of our template.
Add formatting to comments template file elements
The final step that you need to do is to design the comments section and the comments form that appears at the bottom of every single article or post on your site by placing the following formatting codes at the end of the style.css template file:
After completing the formatting, the comments section will appear as follows:

Conclusion
In today’s article, we learned how to add an important feature to a WordPress template, which is the feature of enabling adding and displaying comments, and we showed how easy it is to do this by calling a set of functions that are built into the WordPress core. As a WordPress developer,
you must understand these functions, know how to use them, and pass the appropriate parameters to them so that you can add a dedicated section to display comments, create a form for comments, and customize it correctly in your template. It is preferable to create, as we mentioned, a dedicated template file for comments, comments.php, in the template directory, within which all functions for managing comments are called.
Of course, you will also need to add some appropriate formatting to the comments section in your template so that it appears as desired. Finally, all you have to do is call this template anywhere you want. For example, it can be called at the end of the single.php file to display the comments section below each article.


Leave a Reply