n the previous lesson in the WordPress theme development series (Practical Application 1), we started by preparing the basic template file index.php, which is concerned with displaying the basic content of the template pages. In today’s lesson from the Developing WordPress Templates from Scratch series, we will explain how to create a custom header and footer for our WordPress template.
We have explained that calling the get_header() function in any Template file tells WordPress to include the header file header.php, and calling the get_footer() function in any Template file tells WordPress to include the footer.php file.
In the index.php file, we called these two functions, but we relied on the default header and footer for a backup template provided to us by WordPress, and today we will work on customizing the header and footer and designing them according to the requirements of our template.
Create a template header file header.php
Create a new file called header.php within your template folder. Within this file, we will write the necessary codes to fetch the required header content according to the design of our template.
This file includes all the codes that are called before starting to display the main content of the page within the <main> tag. It usually includes (the <head> tag, the opening <body> tag, and the <header> tag, which will collect the necessary part of the content in the header of each page, which appears before the actual content. per page)
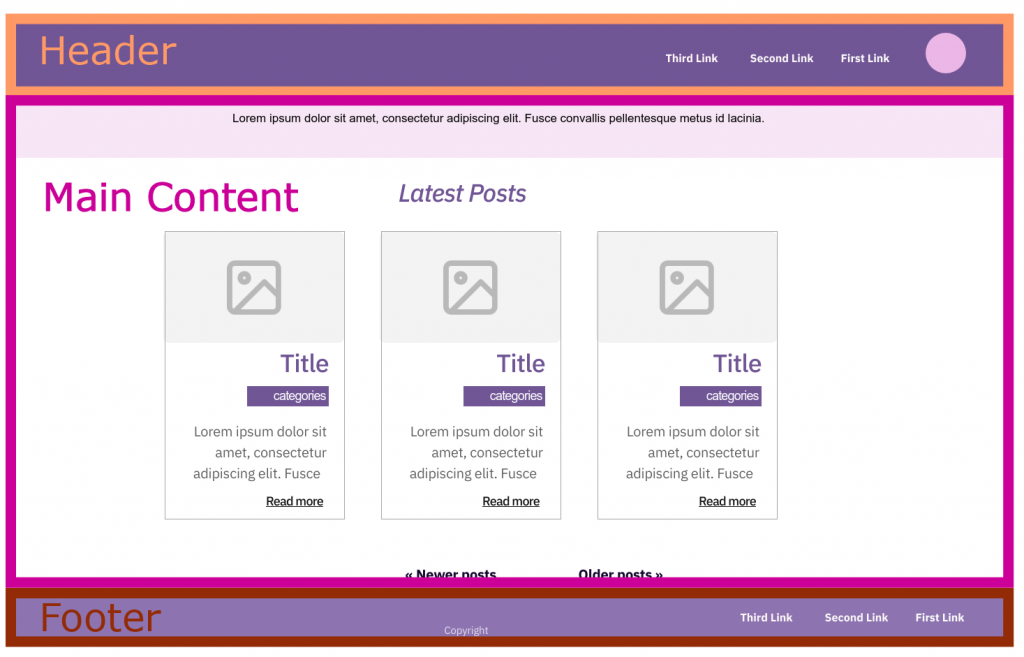
As we explained in the template network diagram that we included in the previous lesson, our template must display within the <header> both the site logo on the left and the main navigation menu on the right. Before that, we also need to display a set of basic codes in the head tag, as we will explain in detail in our following paragraphs. .

1. Add basic data to pages
Before starting to fetch the data to be displayed in the site header, there are some important things that we must include in the <head> tag, which is the part that does not appear on the page, such as tags and basic HTML structural elements such as Doctype, which tells the browser how to interpret HTML, and the charset that you use on the site or Blog, and adjusts the viewport width to the width of the device you are using
It should be noted that here we have given the HTML tag class=”no-js”, and this is a way for developers to design pages with or without JavaScript codes. By setting this row, only CSS code can be used to design non-JavaScript pages. Thus, the developer can specify CSS formats for browsers that support running JavaScript code and other formats for browsers that disable it. Meaning that the no-js class will not be implemented unless JavaScript is disabled for the browser.
We must also call the <title> tag, which displays the site title at the top of the browser window, and write a set of metadata that includes identifying information such as the title of the document at the top of the browser and in search engine results, and places the necessary links to the format files and scripts that we use on the site.
Finally, we prefer to call the wp_head action hook in case the template or one of the plugins needs to add some code later.
The beginning of the file will look like this:
2. Display the website logo
Then we write the <body> tag and the <header tag to begin displaying the actual header data, which is the site logo and then the main navigation menu.
In our template, I will place a fixed logo image logo.png inside the images folder of our template and display it statically within the code, but it is important that I provide the site owner with a way to change the site logo and add his own logo whenever he wants, and the easiest way to achieve this is through the function website at any time.
The easiest way to achieve this is through the add_theme_support function that we explained in a previous lesson, to which we need to pass the name of the required feature custom-logo. We can also customize the dimensions of the logo by writing the following code in the template functions file functions.php and it will be called automatically when the template is executed.
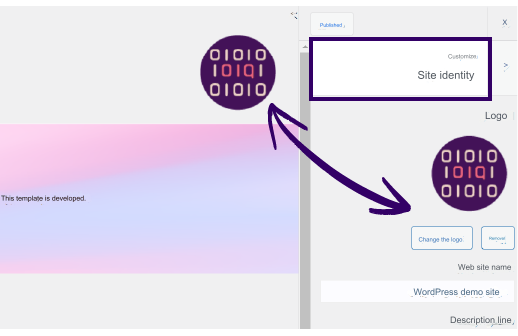
This code will tell WordPress that our theme supports a custom, downloadable logo and make it provide a section where you can change the logo and upload any image you want under Dashboard>Appearance>Customize>Site Identity as follows.

By clicking on the Change Logo button, we can upload an image to display as the site logo, and the image size suggested here is 100 x 100 pixels. But here it is preferable to download a version with twice these dimensions that will appear perfectly on screens that support the Retina Display feature.
Simply adding a logo image here is not enough to make WordPress display it automatically. Why? Because it does not know where you want to display it, so you have to call the_custom_logo() function in the location where you want to display this logo within the header.php file.
This function generates HTML code and a link that directs the site visitor to the home page. The image source is the URL of the uploaded logo image.
The codes required to do this task in the header.php file are as follows:
3.Display navigation menu
After displaying the logo, you must display the main navigation menu in the site header, but before creating the special navigation menu, create some pages on the site so that you can add them to the menu when you create it.
To do this, go back to the functions.php file, add menu support for this template inside the file, and register the desired menu display positions with the register_nav_menus() function.
If you go back to the initial design of our home page you will notice that it displays two navigation menus. One in the header and one in the footer. So, in our template, we will add a main menu in the header and a menu in the footer as follows:
Read more: Create navigation menus in a WordPress theme and customize them with code
This code will cause two places to display menus within our template, and in these places the site owner can create any custom menu and specify the place he wants to display it.
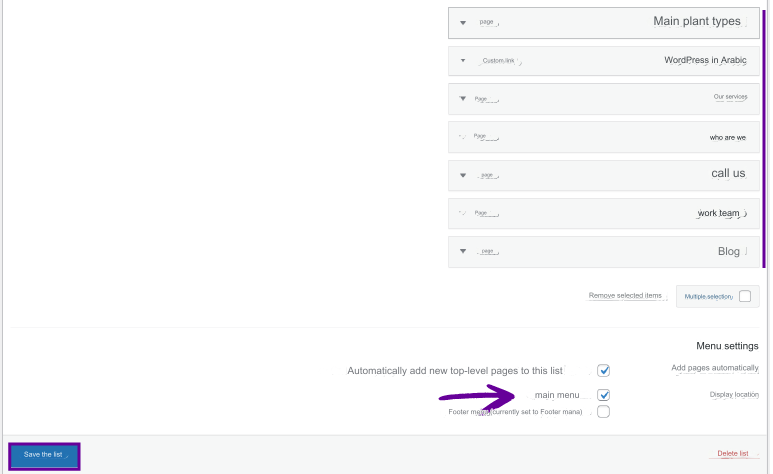
After this writing, if you return to the control panel and choose the menus appearance, you will find these two places. If you create your menus, choose the display location for them in one of the places you registered, and then browse the site, you will not see these menus because you also did not tell WordPress where you will display them.

You must tell WordPress that you want to display the main navigation menu in your site’s header by calling the wp_nav_menu() function in the header.php file under the <nav> tag as follows:
Now go back to the browser and view the home page of your site. The menu should now appear as follows:

You may be wondering why the list appeared like this? The answer is because WordPress creates a ul menu tag and a li tag for each of its elements by default. WordPress also adds a set of default formatting classes, whether for the menu or other page elements, based on several factors to help you format your site.
With this, we have added the required elements to the header of our template, and in the next step we must add the formats so that the header appears as desired.
4. Formatting the header elements (logo and menu)
As we just mentioned, WordPress adds several default formatting classes for elements, and if you wish, you can use these classes to design your web page.
Alternatively, if you do not want to use these automatically generated categories, you can work on adding your own categories and adding the necessary formats to them.
In this paragraph, we will add a design to the site’s header elements based on our own classes. So we will edit the style.css template file and add the following styles to it:
With this, we have finished the site header, and it will look like this after formatting:
Create template footer file footer.php
Now we will add the required elements to the footer of our WordPress template. Our template is simple and standard, and it includes all the code necessary to display it after the <main> tag.
In our template’s footer, we will display two elements: the footer list and the copyright text. We will also call the wp_footer() action hook to allow any subsequent modifications.
So we create a new file in the template folder and call it footer.php and add the following code to it:
The final step is to format the footer elements by adding the following formats to the style.css file
Now, if we view our website in the browser, the footer will appear as follows:
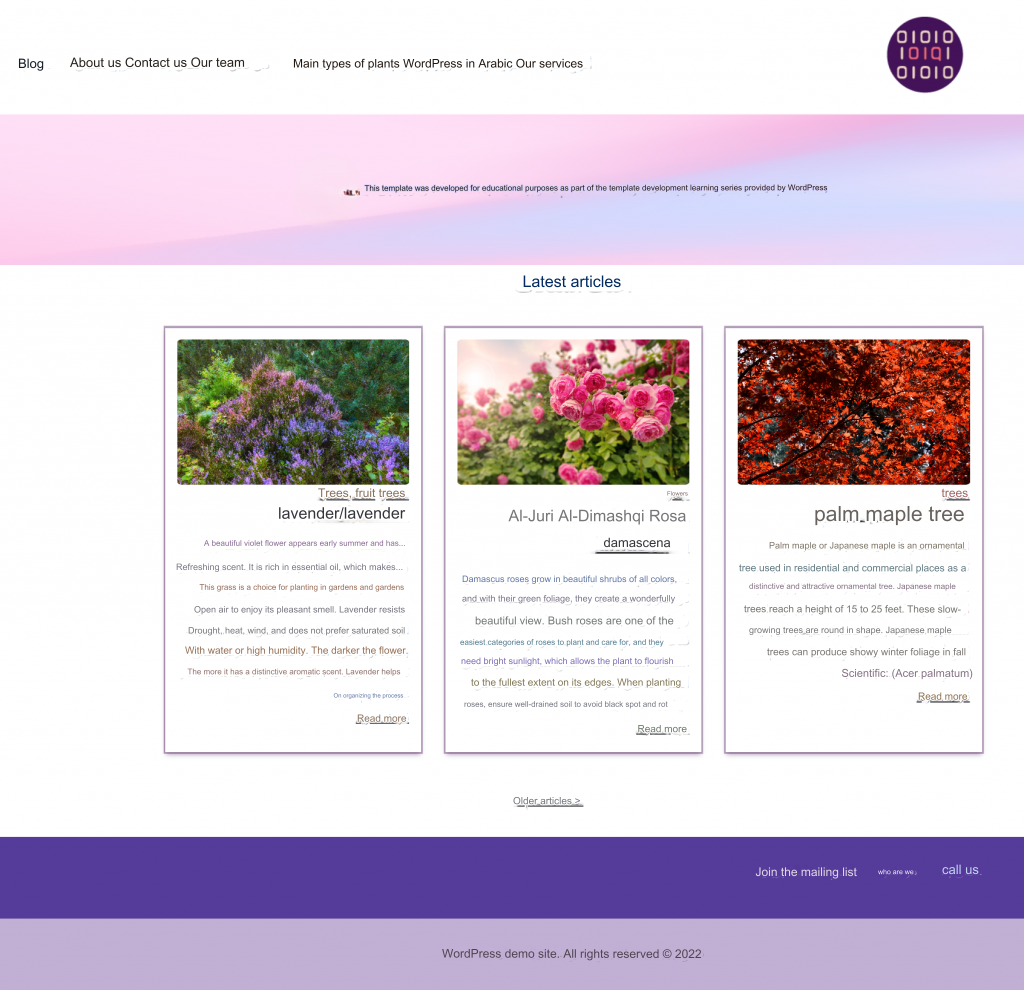
The home page of our website will appear after customizing the header and footer as follows:

Conclusion
In today’s article, we learned how to create a custom header and footer in a WordPress template and how to format them to match the general look required for our template design. In the next lessons in the WordPress template development series, we will begin by customizing the rest of the site’s pages so that they display content different from the content displayed on the home page.


Leave a Reply